The basement had cheap laminate in it. Washboarded everywhere, stained, paint splattered, and pulling apart in the hallway. This was less an upgrade than getting rid of bad material that had been badly installed.
Three rooms and a hallway, all of it going back down over a bare slab. LVP throughout because it is waterproof, which in a basement is the whole argument.
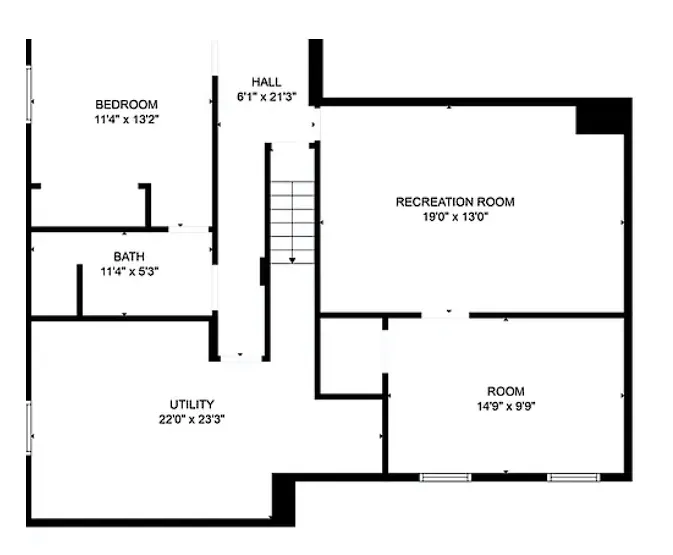
The room marked Room on the plan is the study.
It took about sixteen months:
| When | What |
|---|---|
| May 2025 | Study mostly finished |
| May 2026 | Rec room and hallway finished |
| Aug–Sep 2026 | Third bedroom done, and the study finally finished |
What went where
All three floors came off Facebook Marketplace, which is why there are three of them rather than one. What I was looking for each time: thick, with attached underlayment, a 20 mil or better wear layer, a color we could live with, and a quantity close to what the room actually needed. Three separate batches cleared that bar at different times, and the prices below are why it was worth waiting.
Light in the wing rooms, darker through the core.
| Study | Rec room + hallway | Third bedroom | |
|---|---|---|---|
| Product | Shaw Floorte Classic, Pantheon HD+ Natural Bevel, Alabaster | COREtec Originals Premium, Bravado Pine | Karastan Curated Grain, Pickled |
| Item | 1051V-01098 | VV458-02705 | color 201 |
| Core | Rigid core, 8 mm with attached underlayment | 12 mm — 9 mm WPC core plus 3 mm attached cork | 7 mm SPC with attached underlayment |
| Wear layer | 20 mil | 30 mil | 20 mil |
| Coverage | 245 sq ft | 450 sq ft | 160 sq ft |
| Paid | $245 — $1.00/sq ft | $600 — $1.33/sq ft | $125 — $0.78/sq ft |
| Typical list | ~$6.49/sq ft | ~$9.69/sq ft | ~$4.49–5.99/sq ft |
| Left over | 2 boxes | 3 boxes | 3 planks |
$970 for 855 sq ft, all in.
What was under it
The laminate came up first. Under it, the hallway, rec room and study all appear to have been carpeted at some point before that — whatever came up left a mastic-like material spread across the slab, and all of it had to come off by hand before anything new could go down.
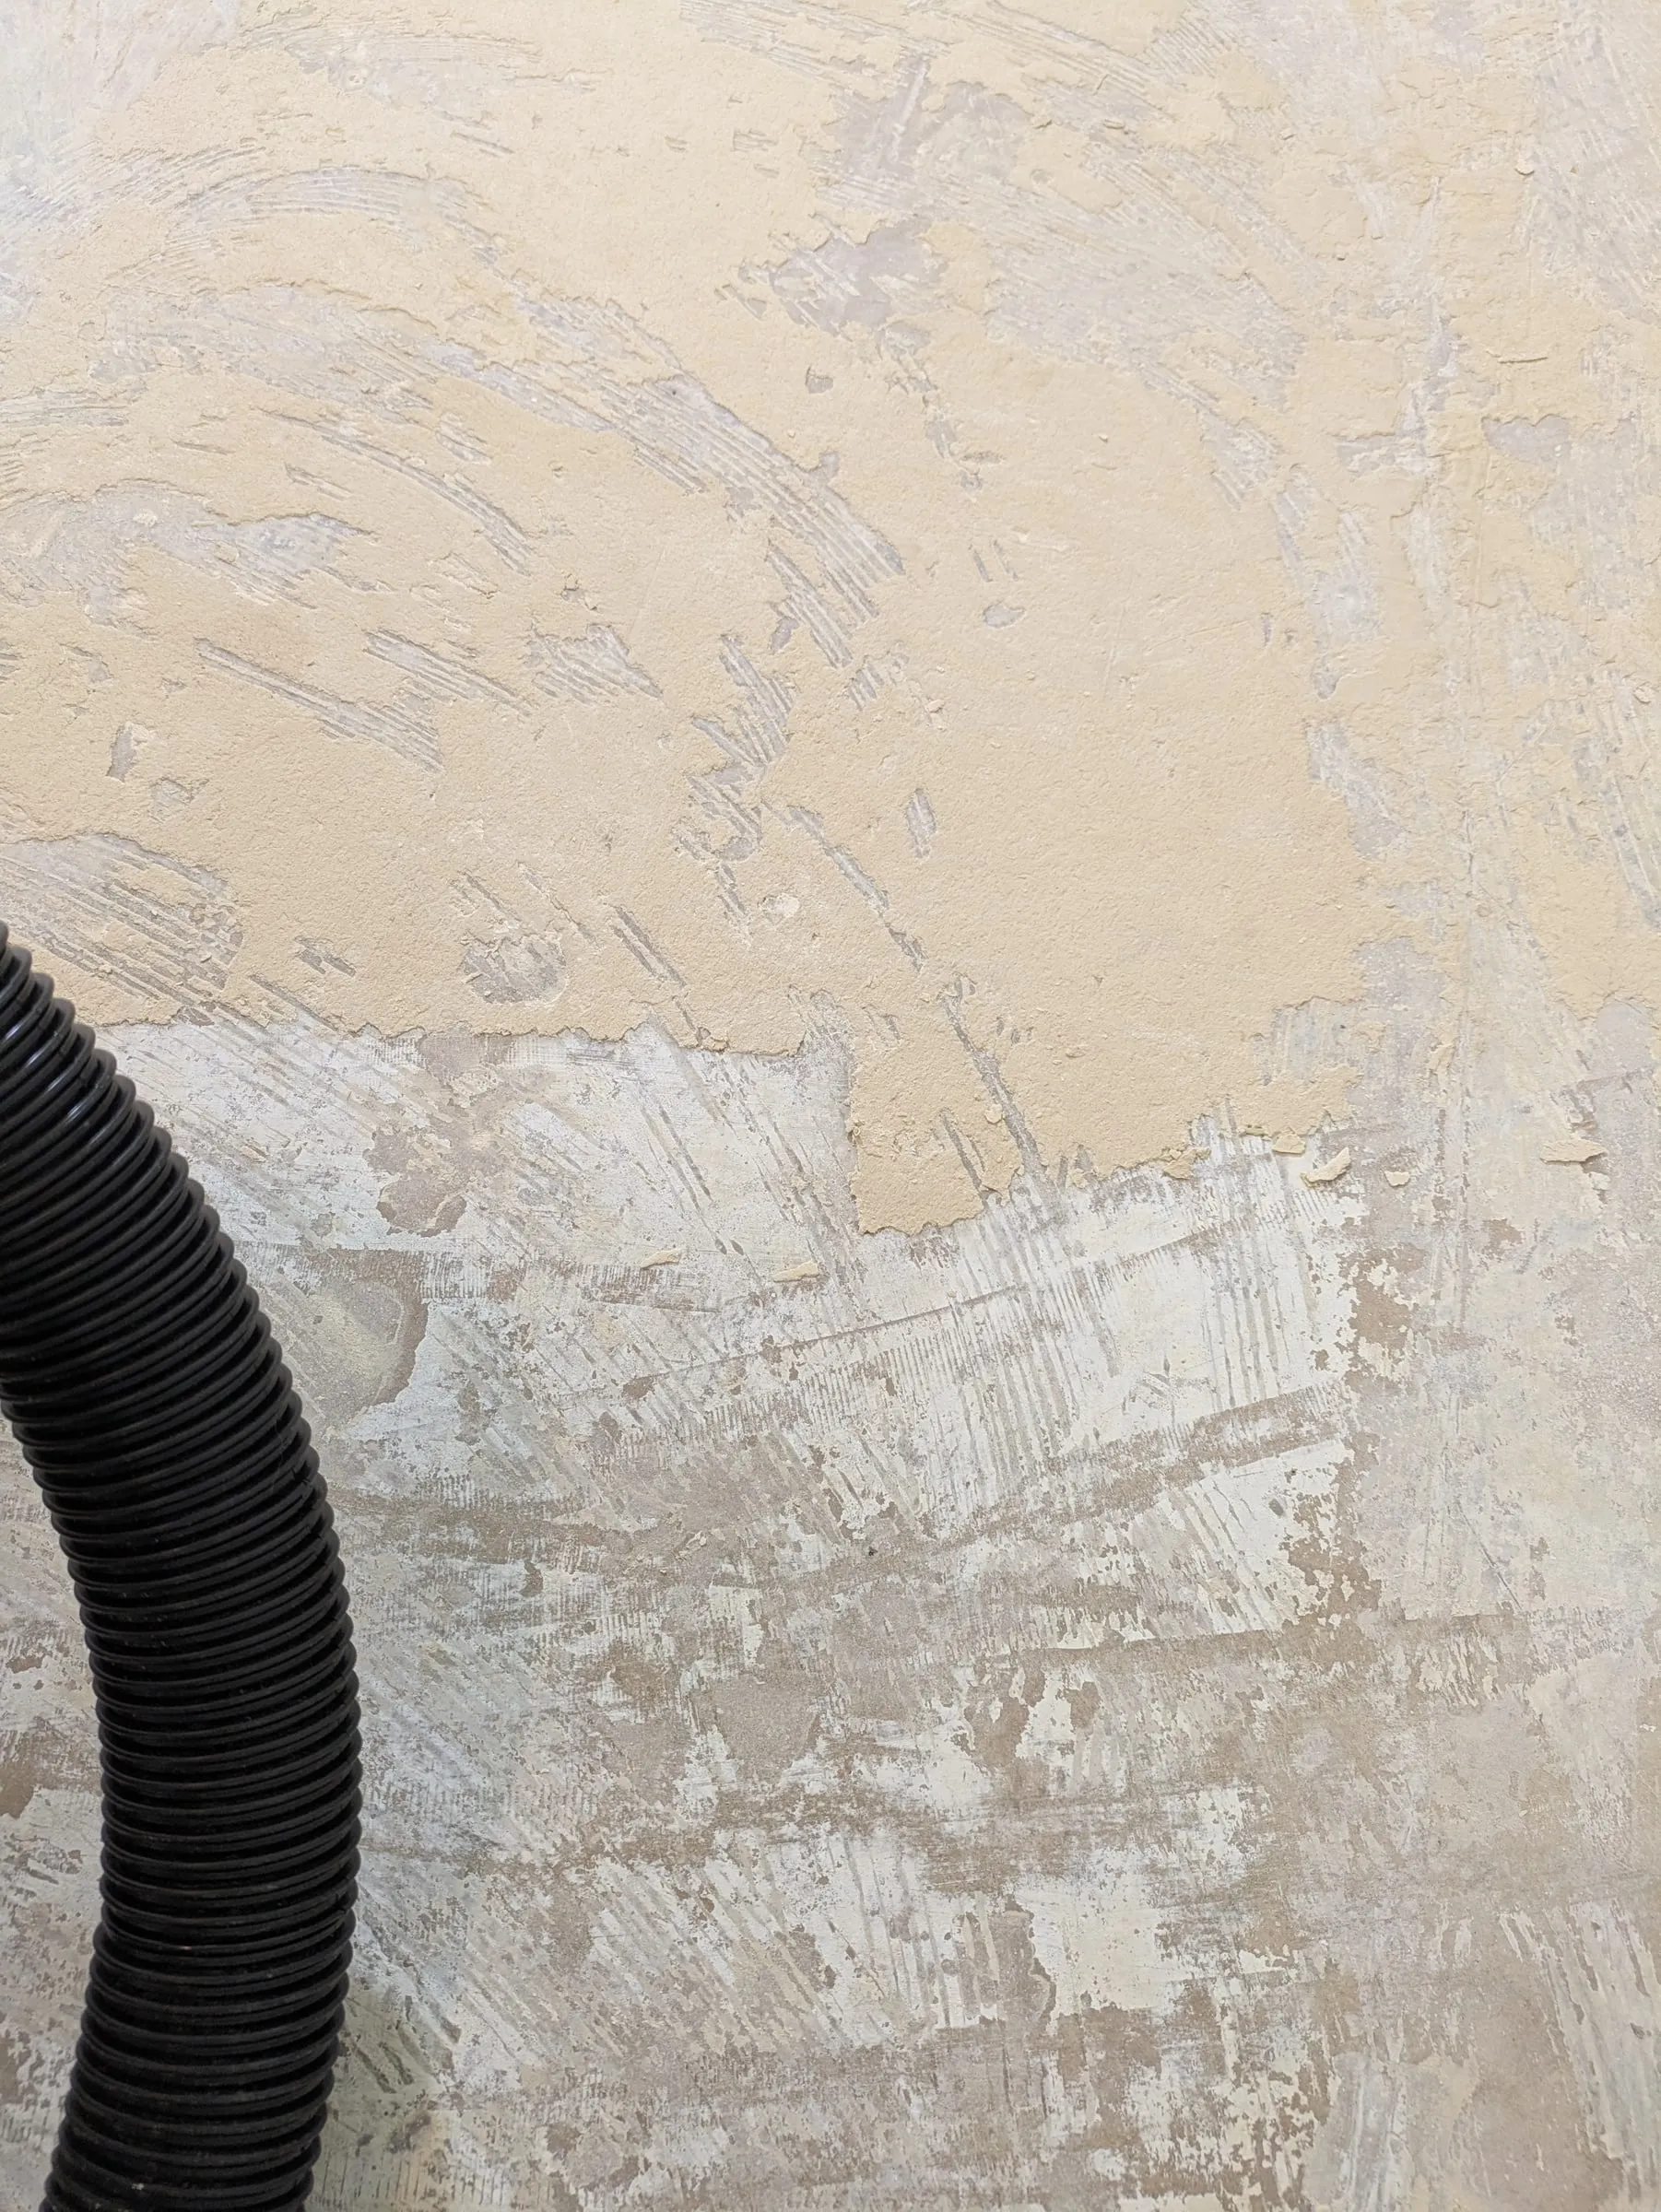
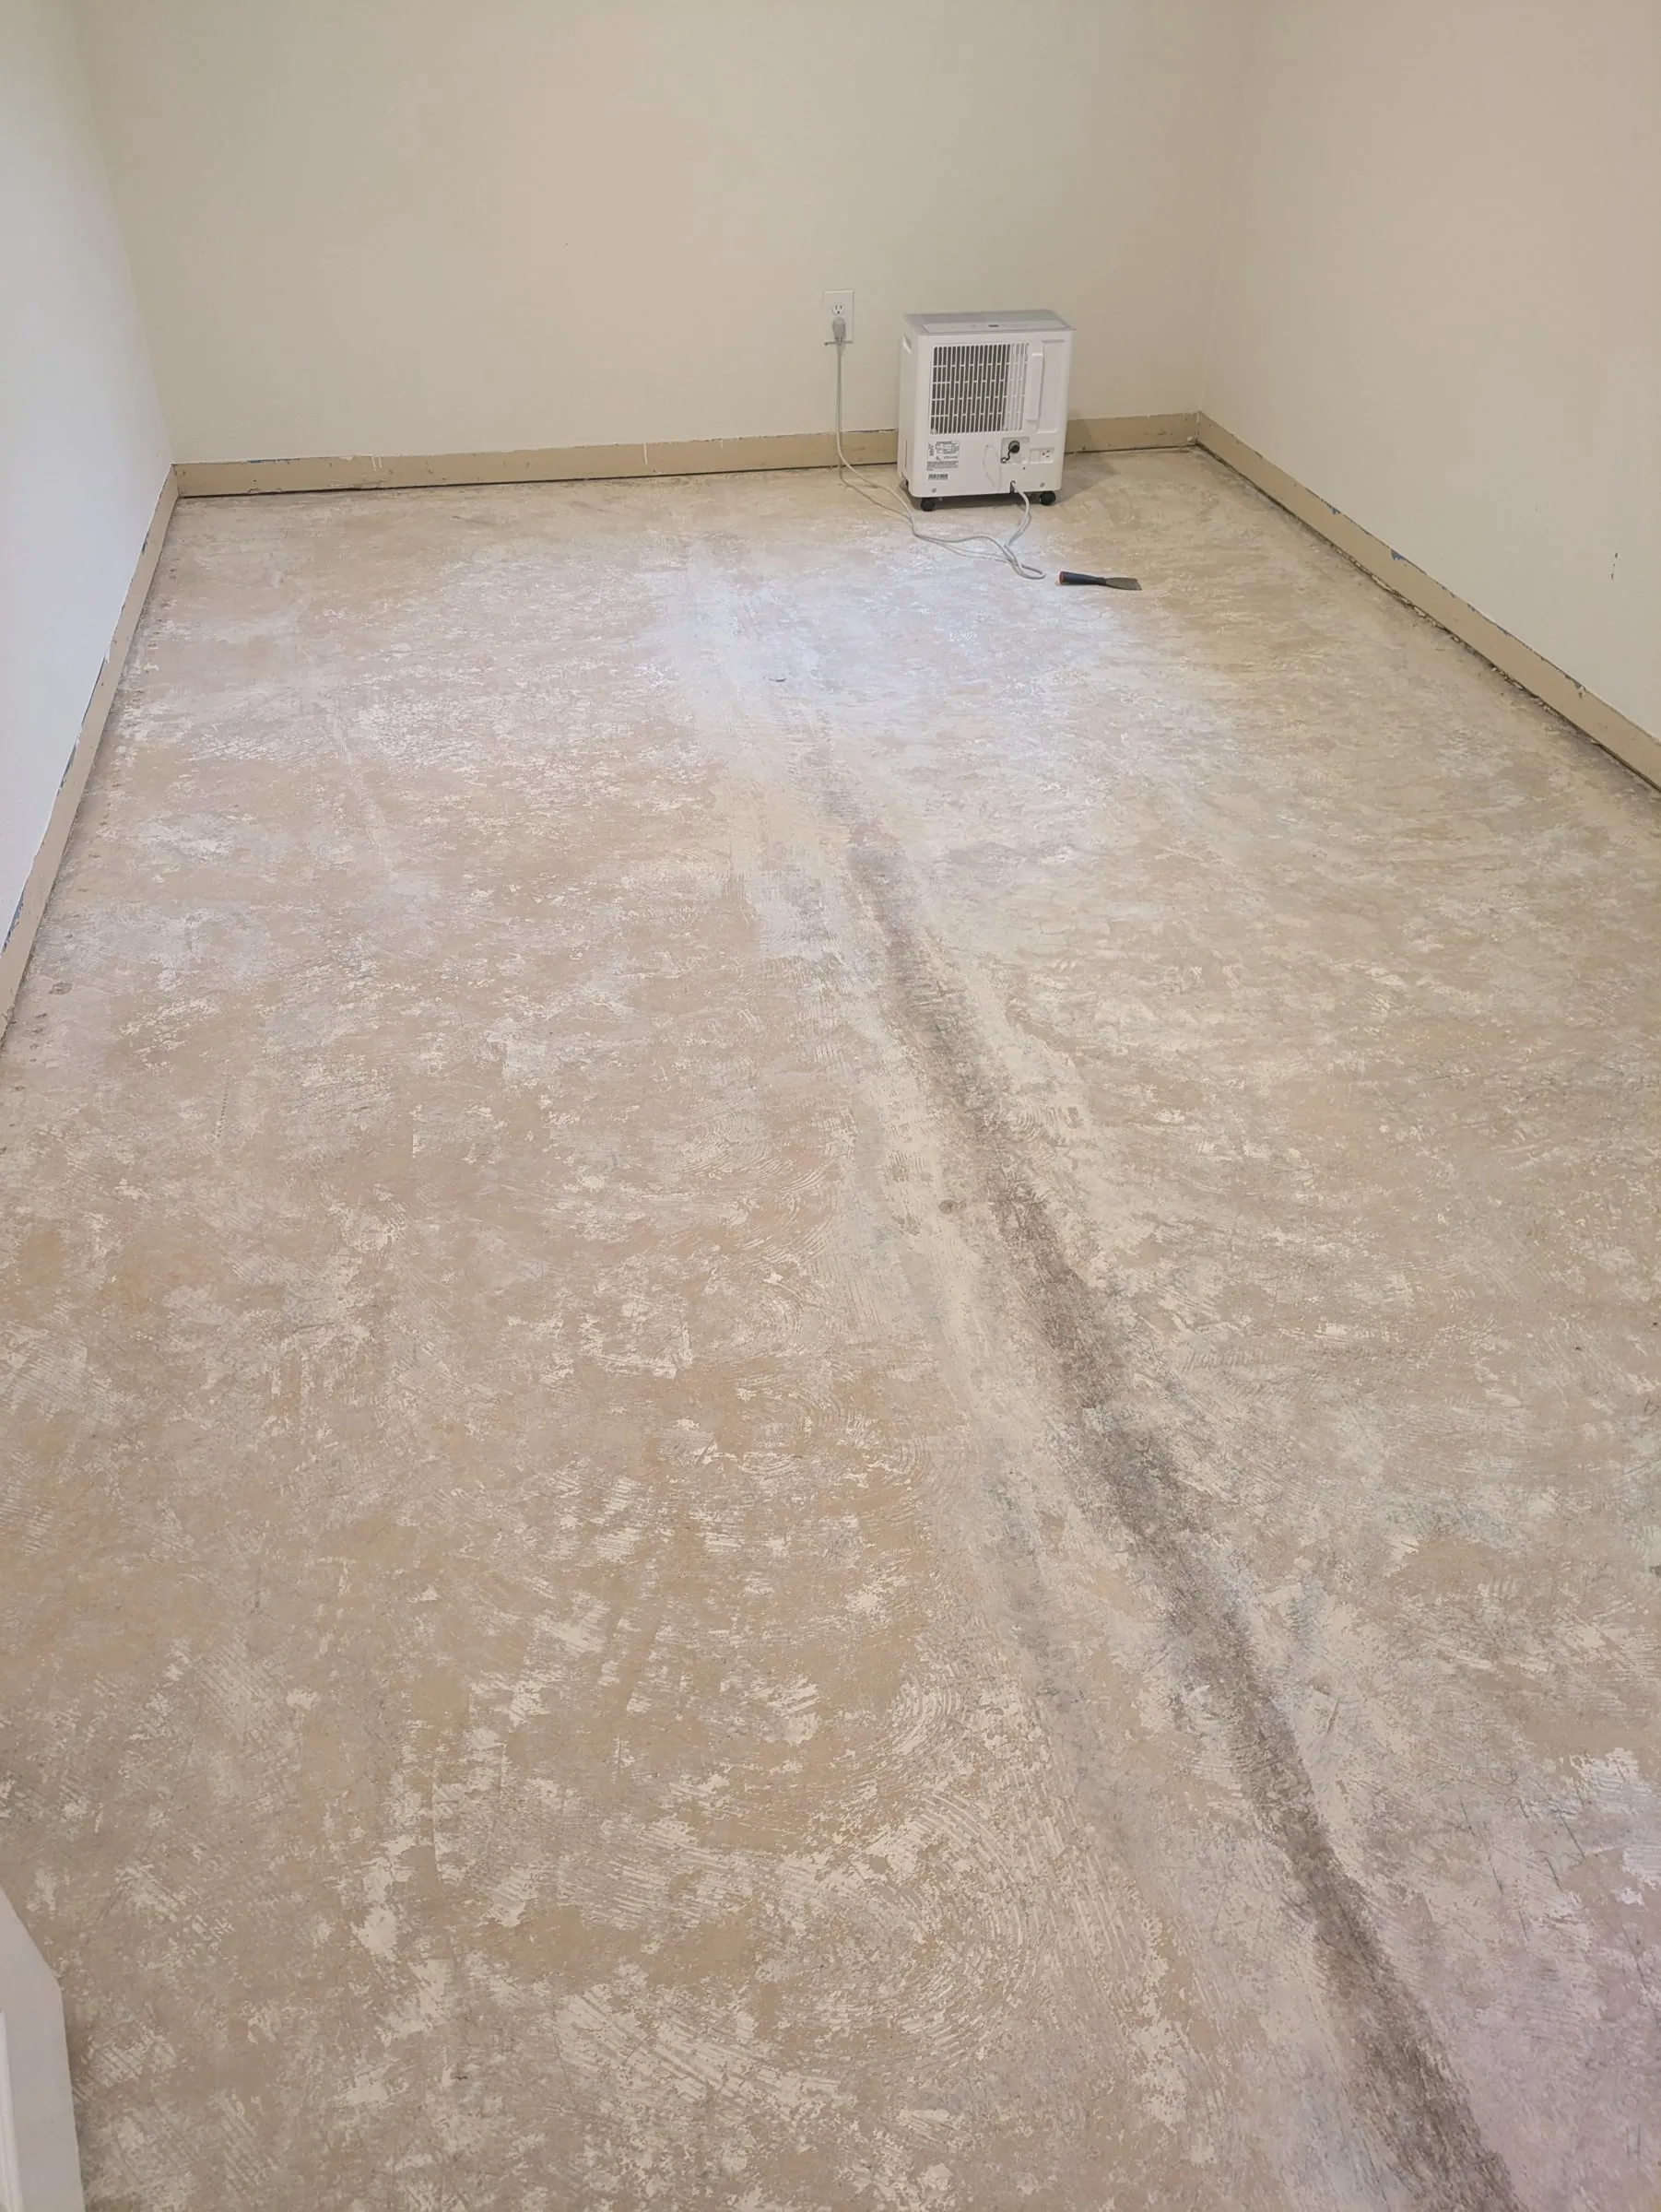
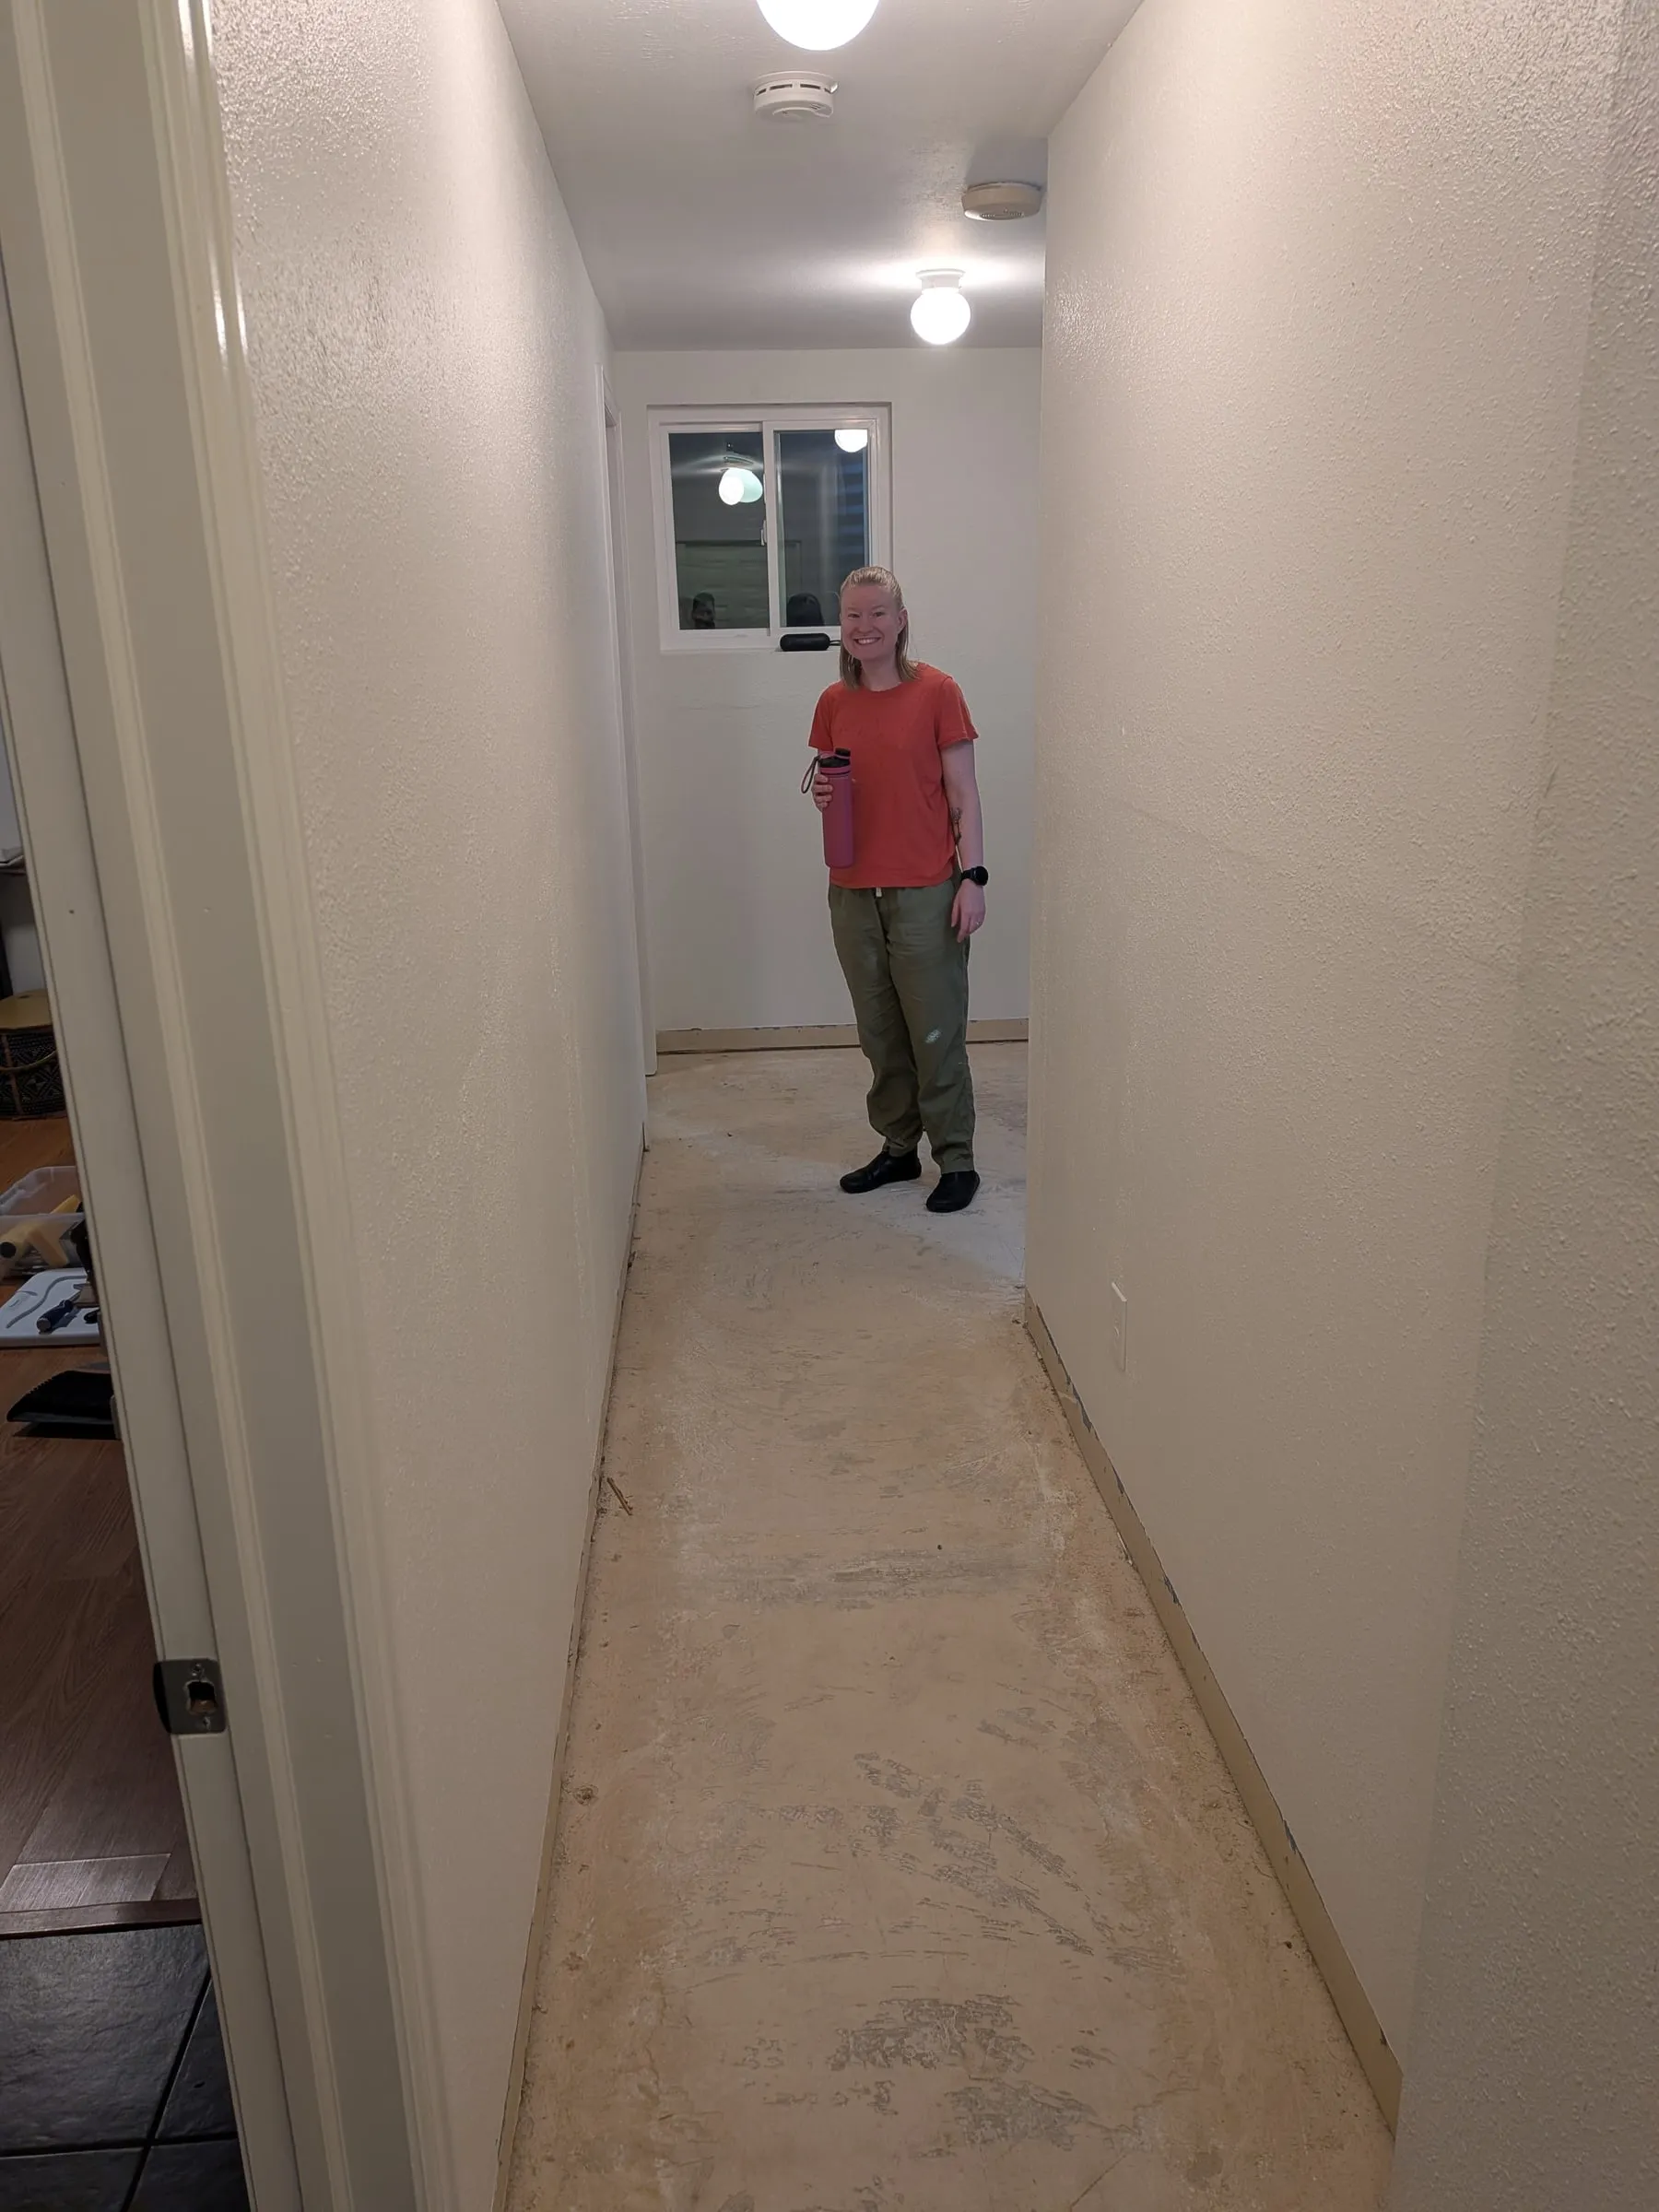
A moisture barrier went down as insurance. The climate here is dry and the basement has never had a moisture problem, so this is belt and suspenders.
Installing the three floors
They were not equally pleasant.
Bravado Pine was by far the hardest. It is thick and it does not click together well. Every board had to be tapped manually into place, which is a lot of time on your knees. I came out of it with an ankle niggle from an overly tight calf, courtesy of all the squatting and kneeling.
The Karastan SPC was a dream to install and clicked positively and tightly every time. It is also brittle. It is remarkably dense — a box of six pieces is just under 50 lbs — and careless handling broke more than one edge lip. The boards still knit together fine, but a small bead of cyanoacrylate went on the broken ones anyway to reduce the chance of them separating later.
The Floorte sat between the two and gave no trouble.
Cuts
There were some tricky cuts, especially in the hallway. Nothing careful planning could not solve.
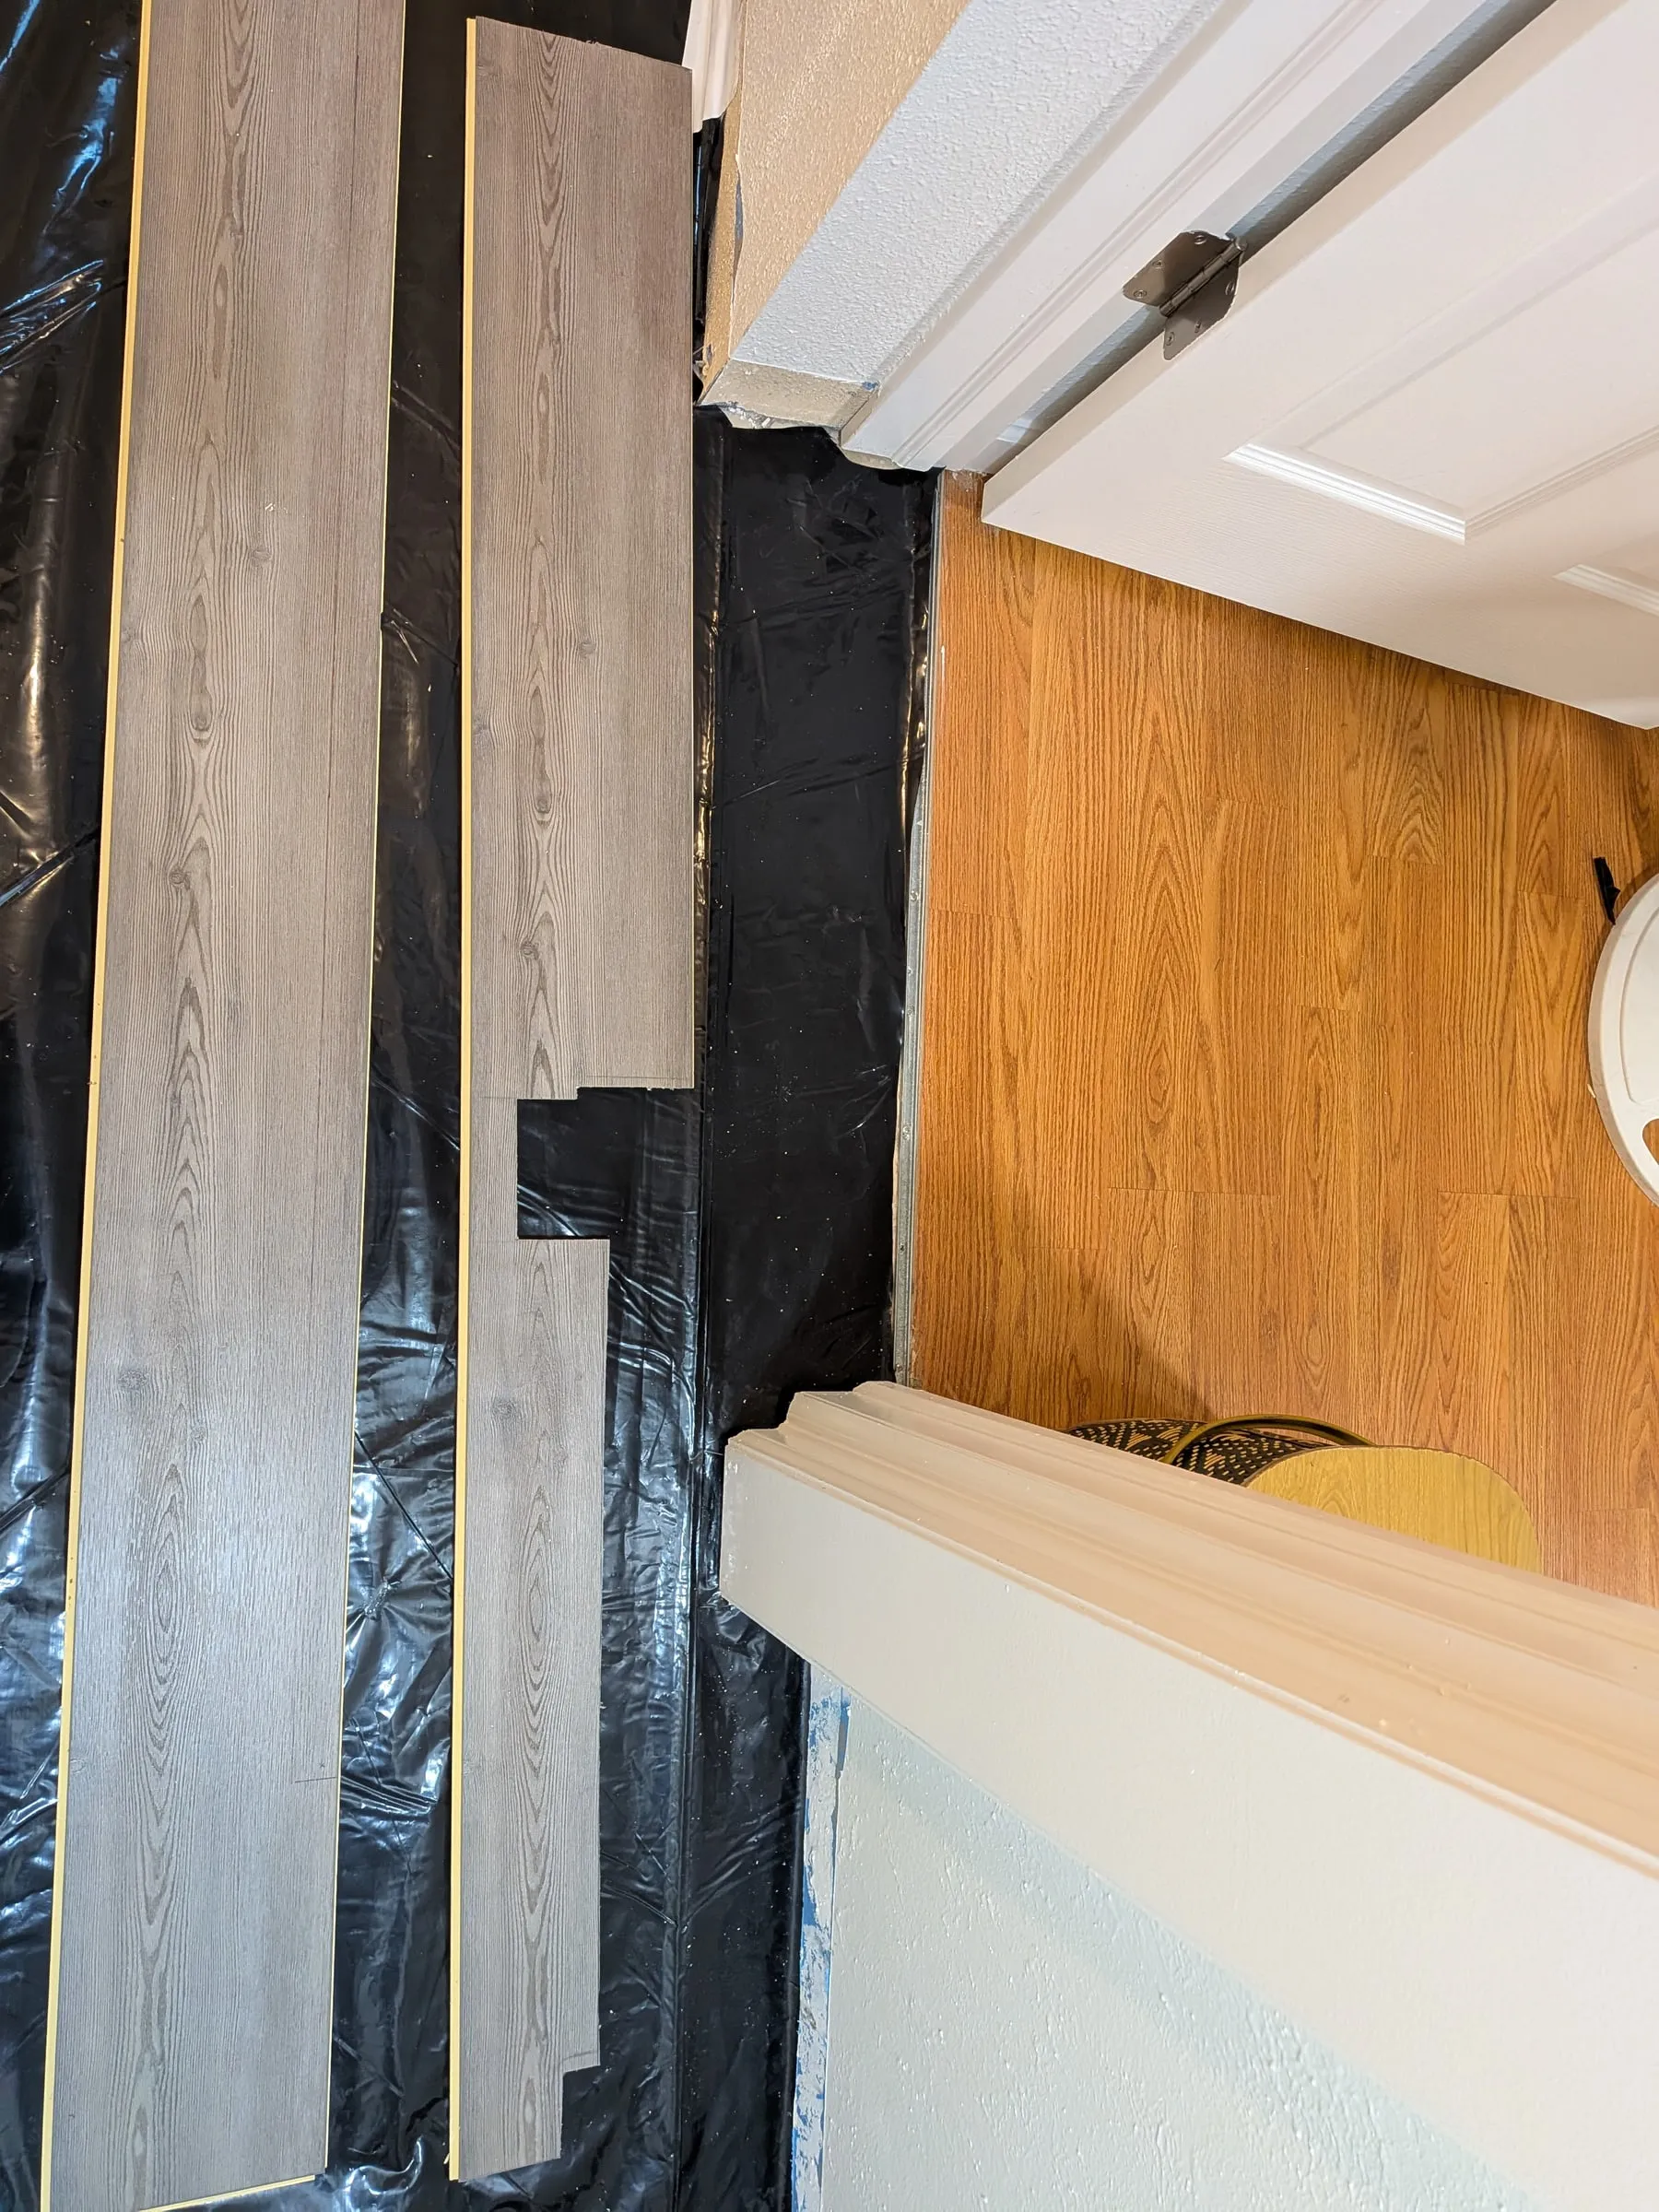
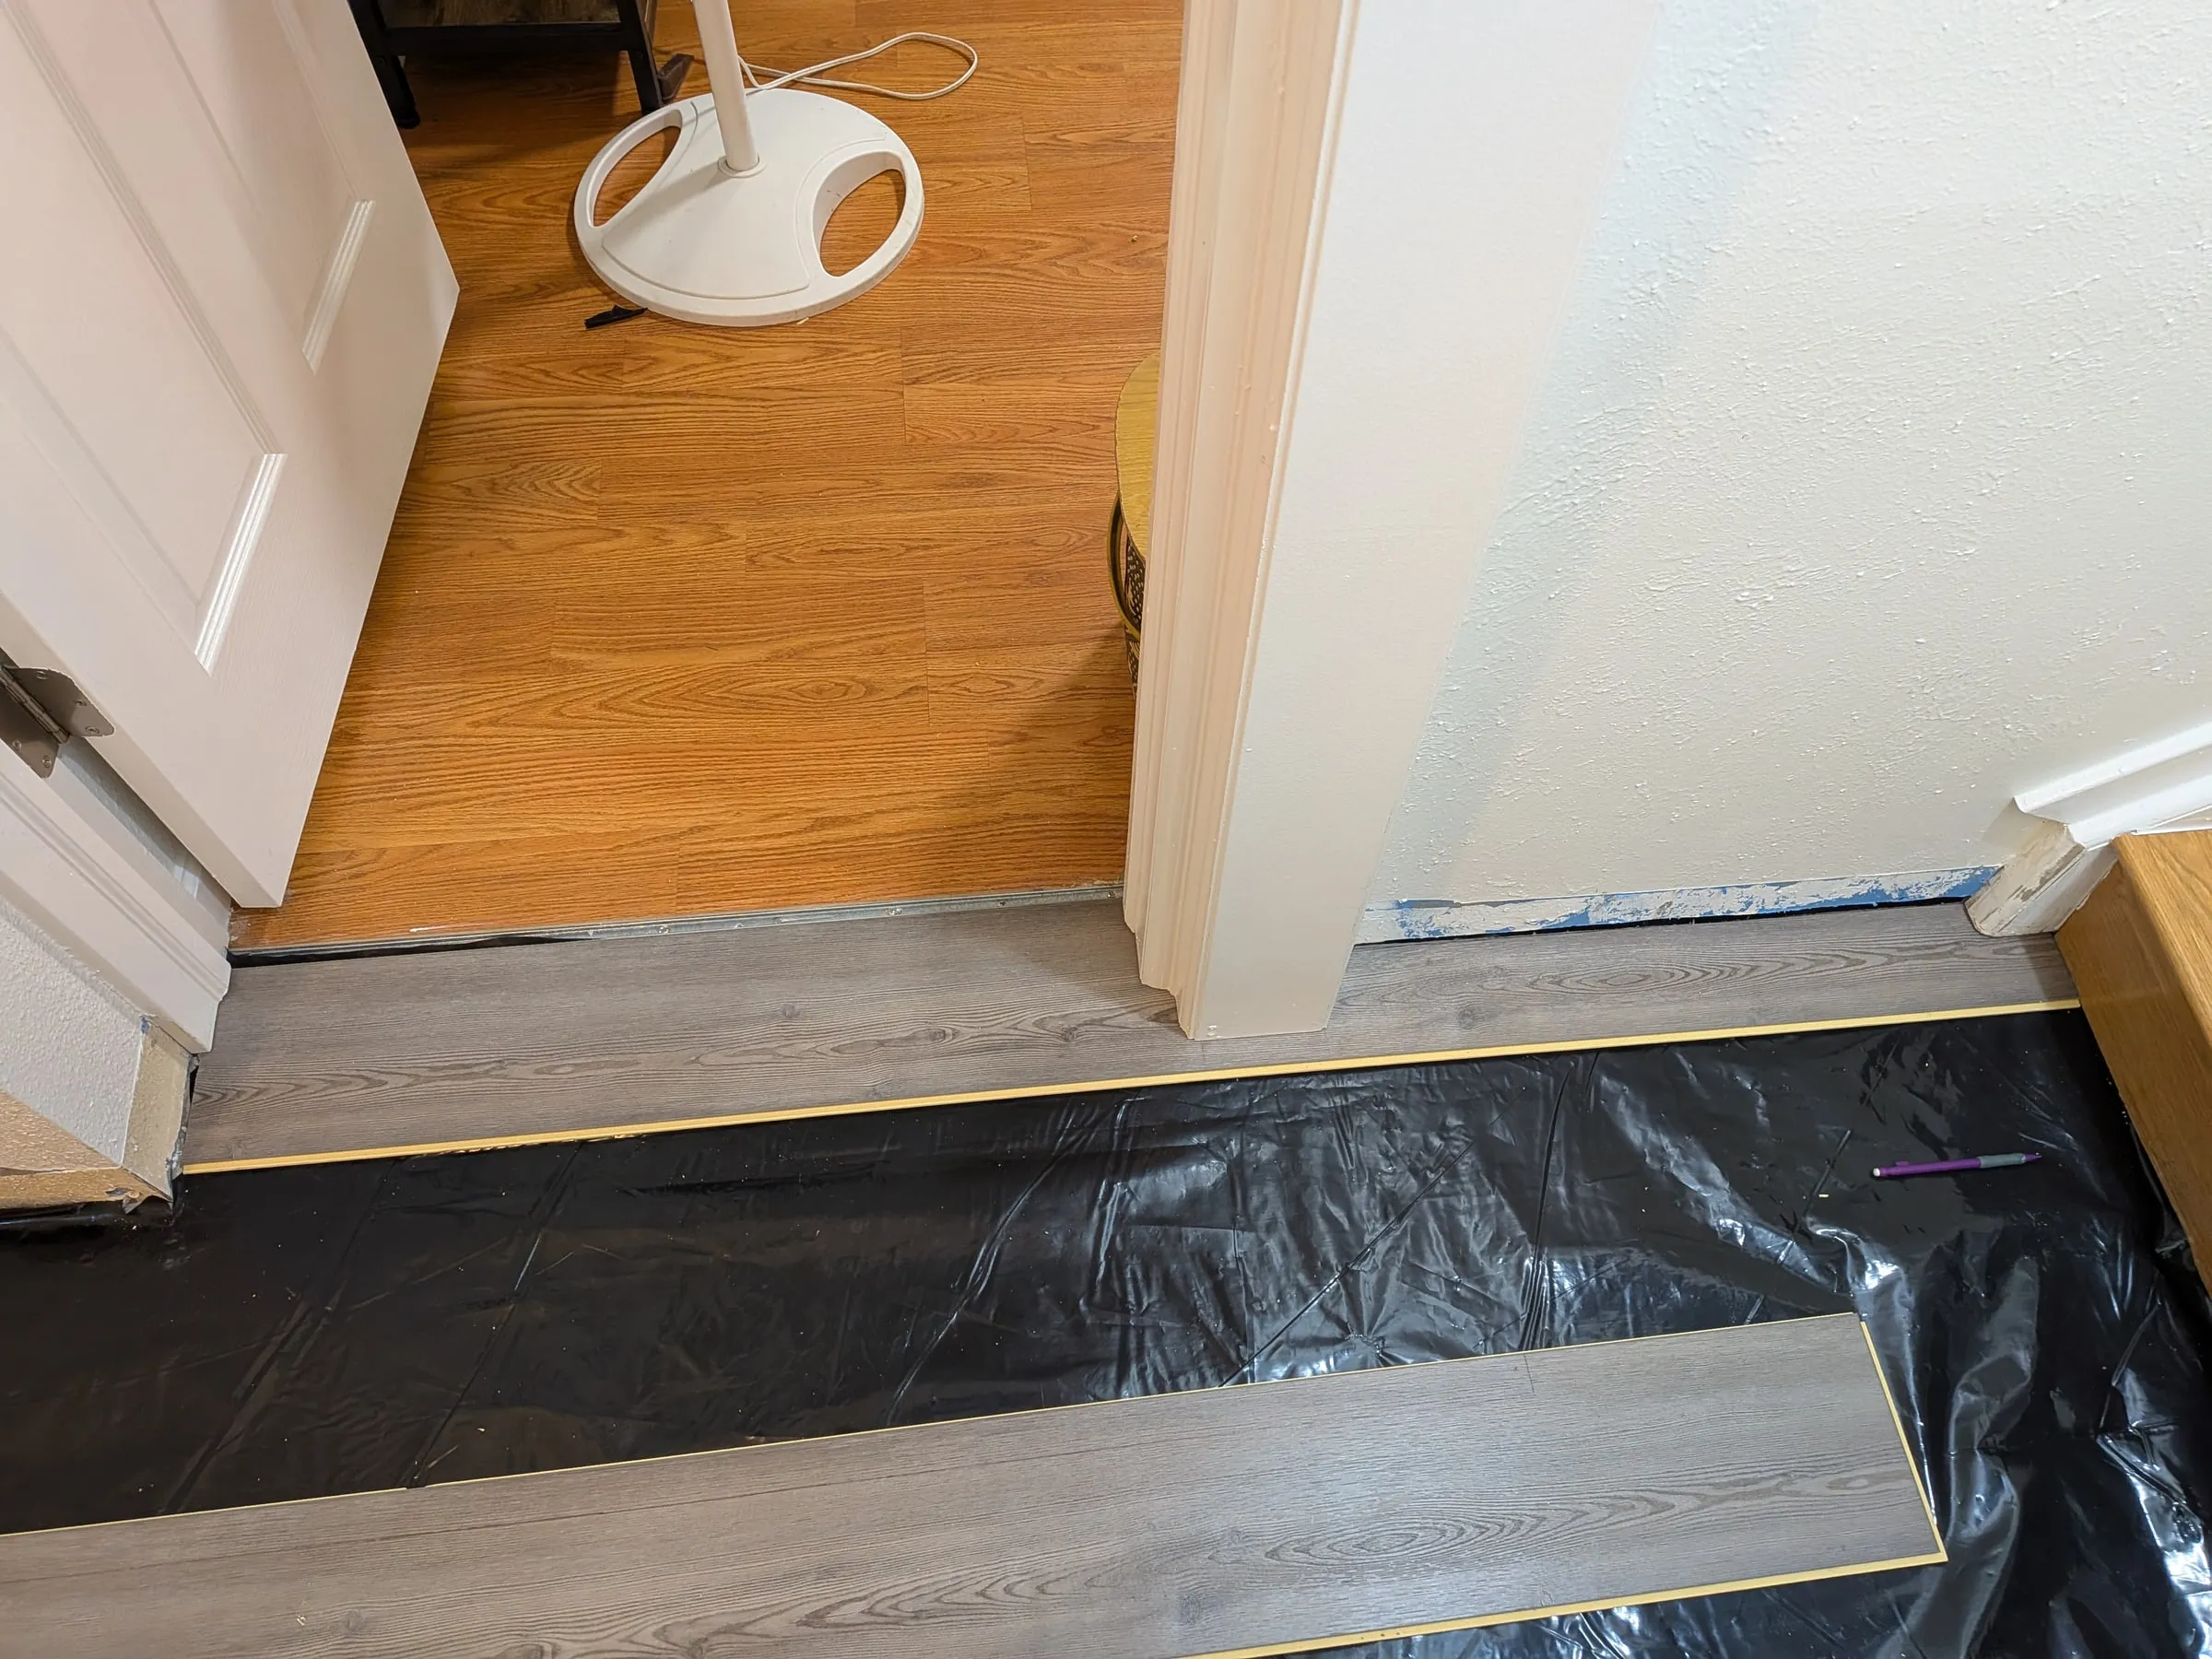
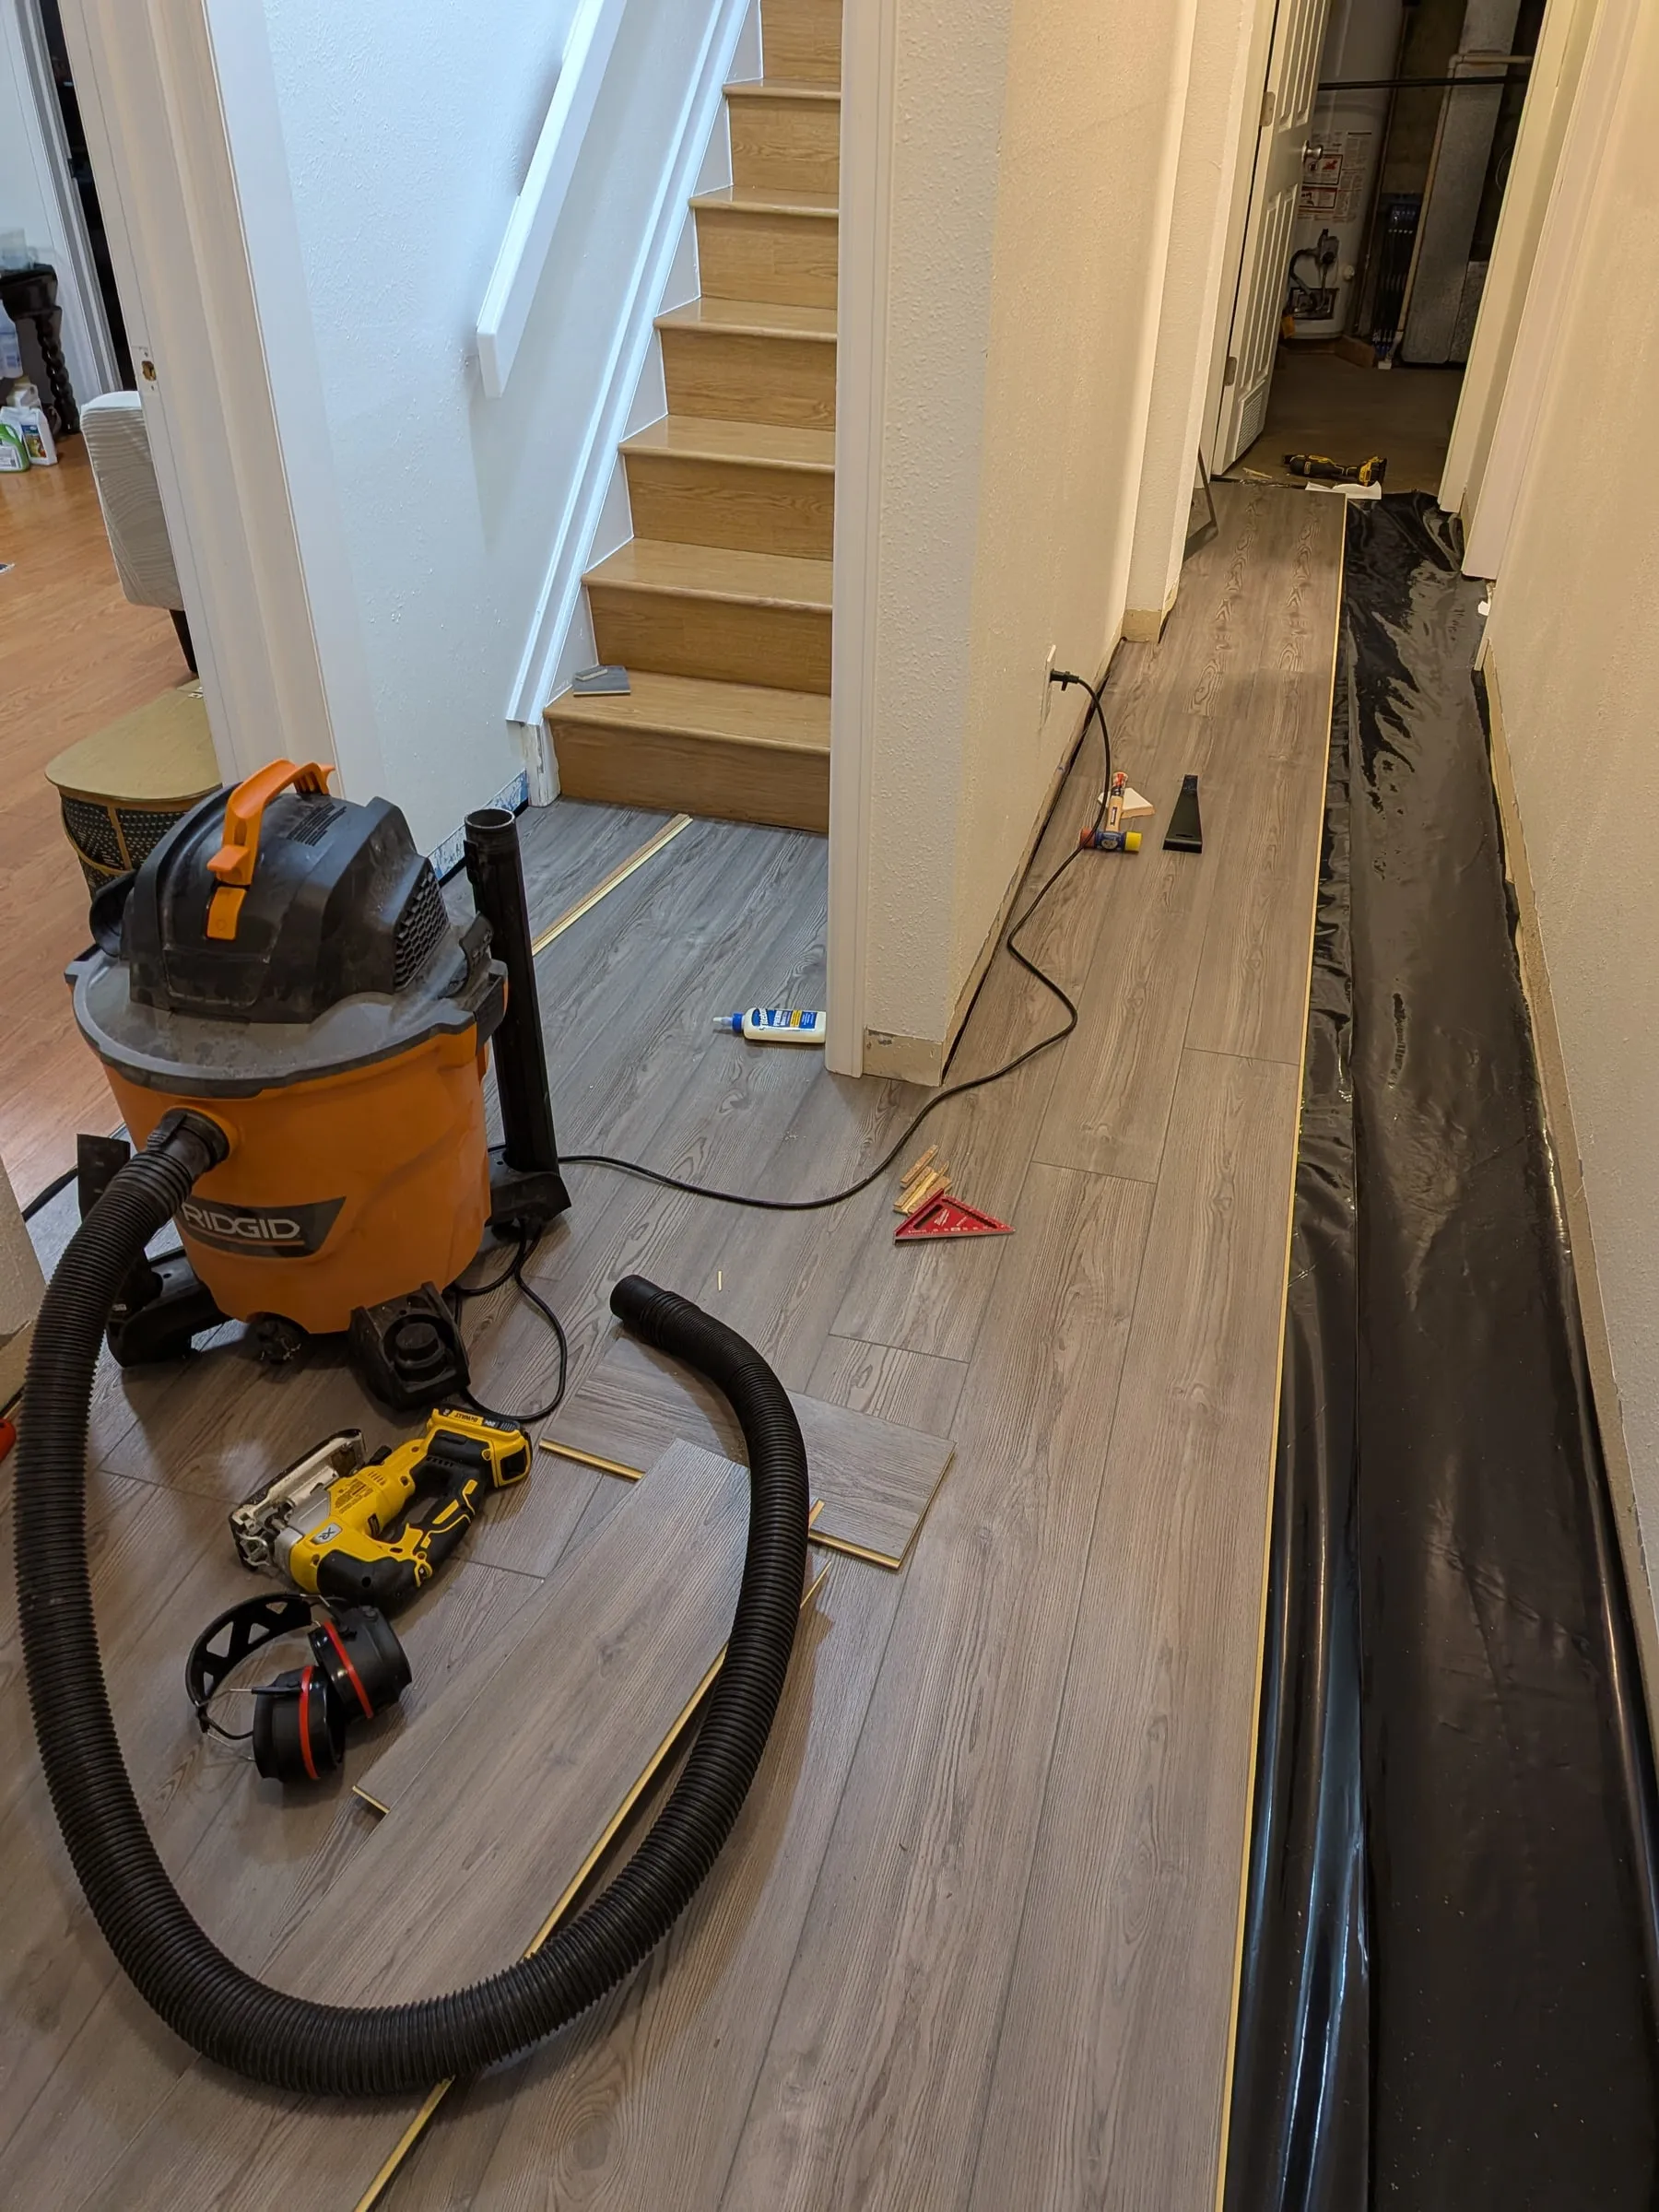
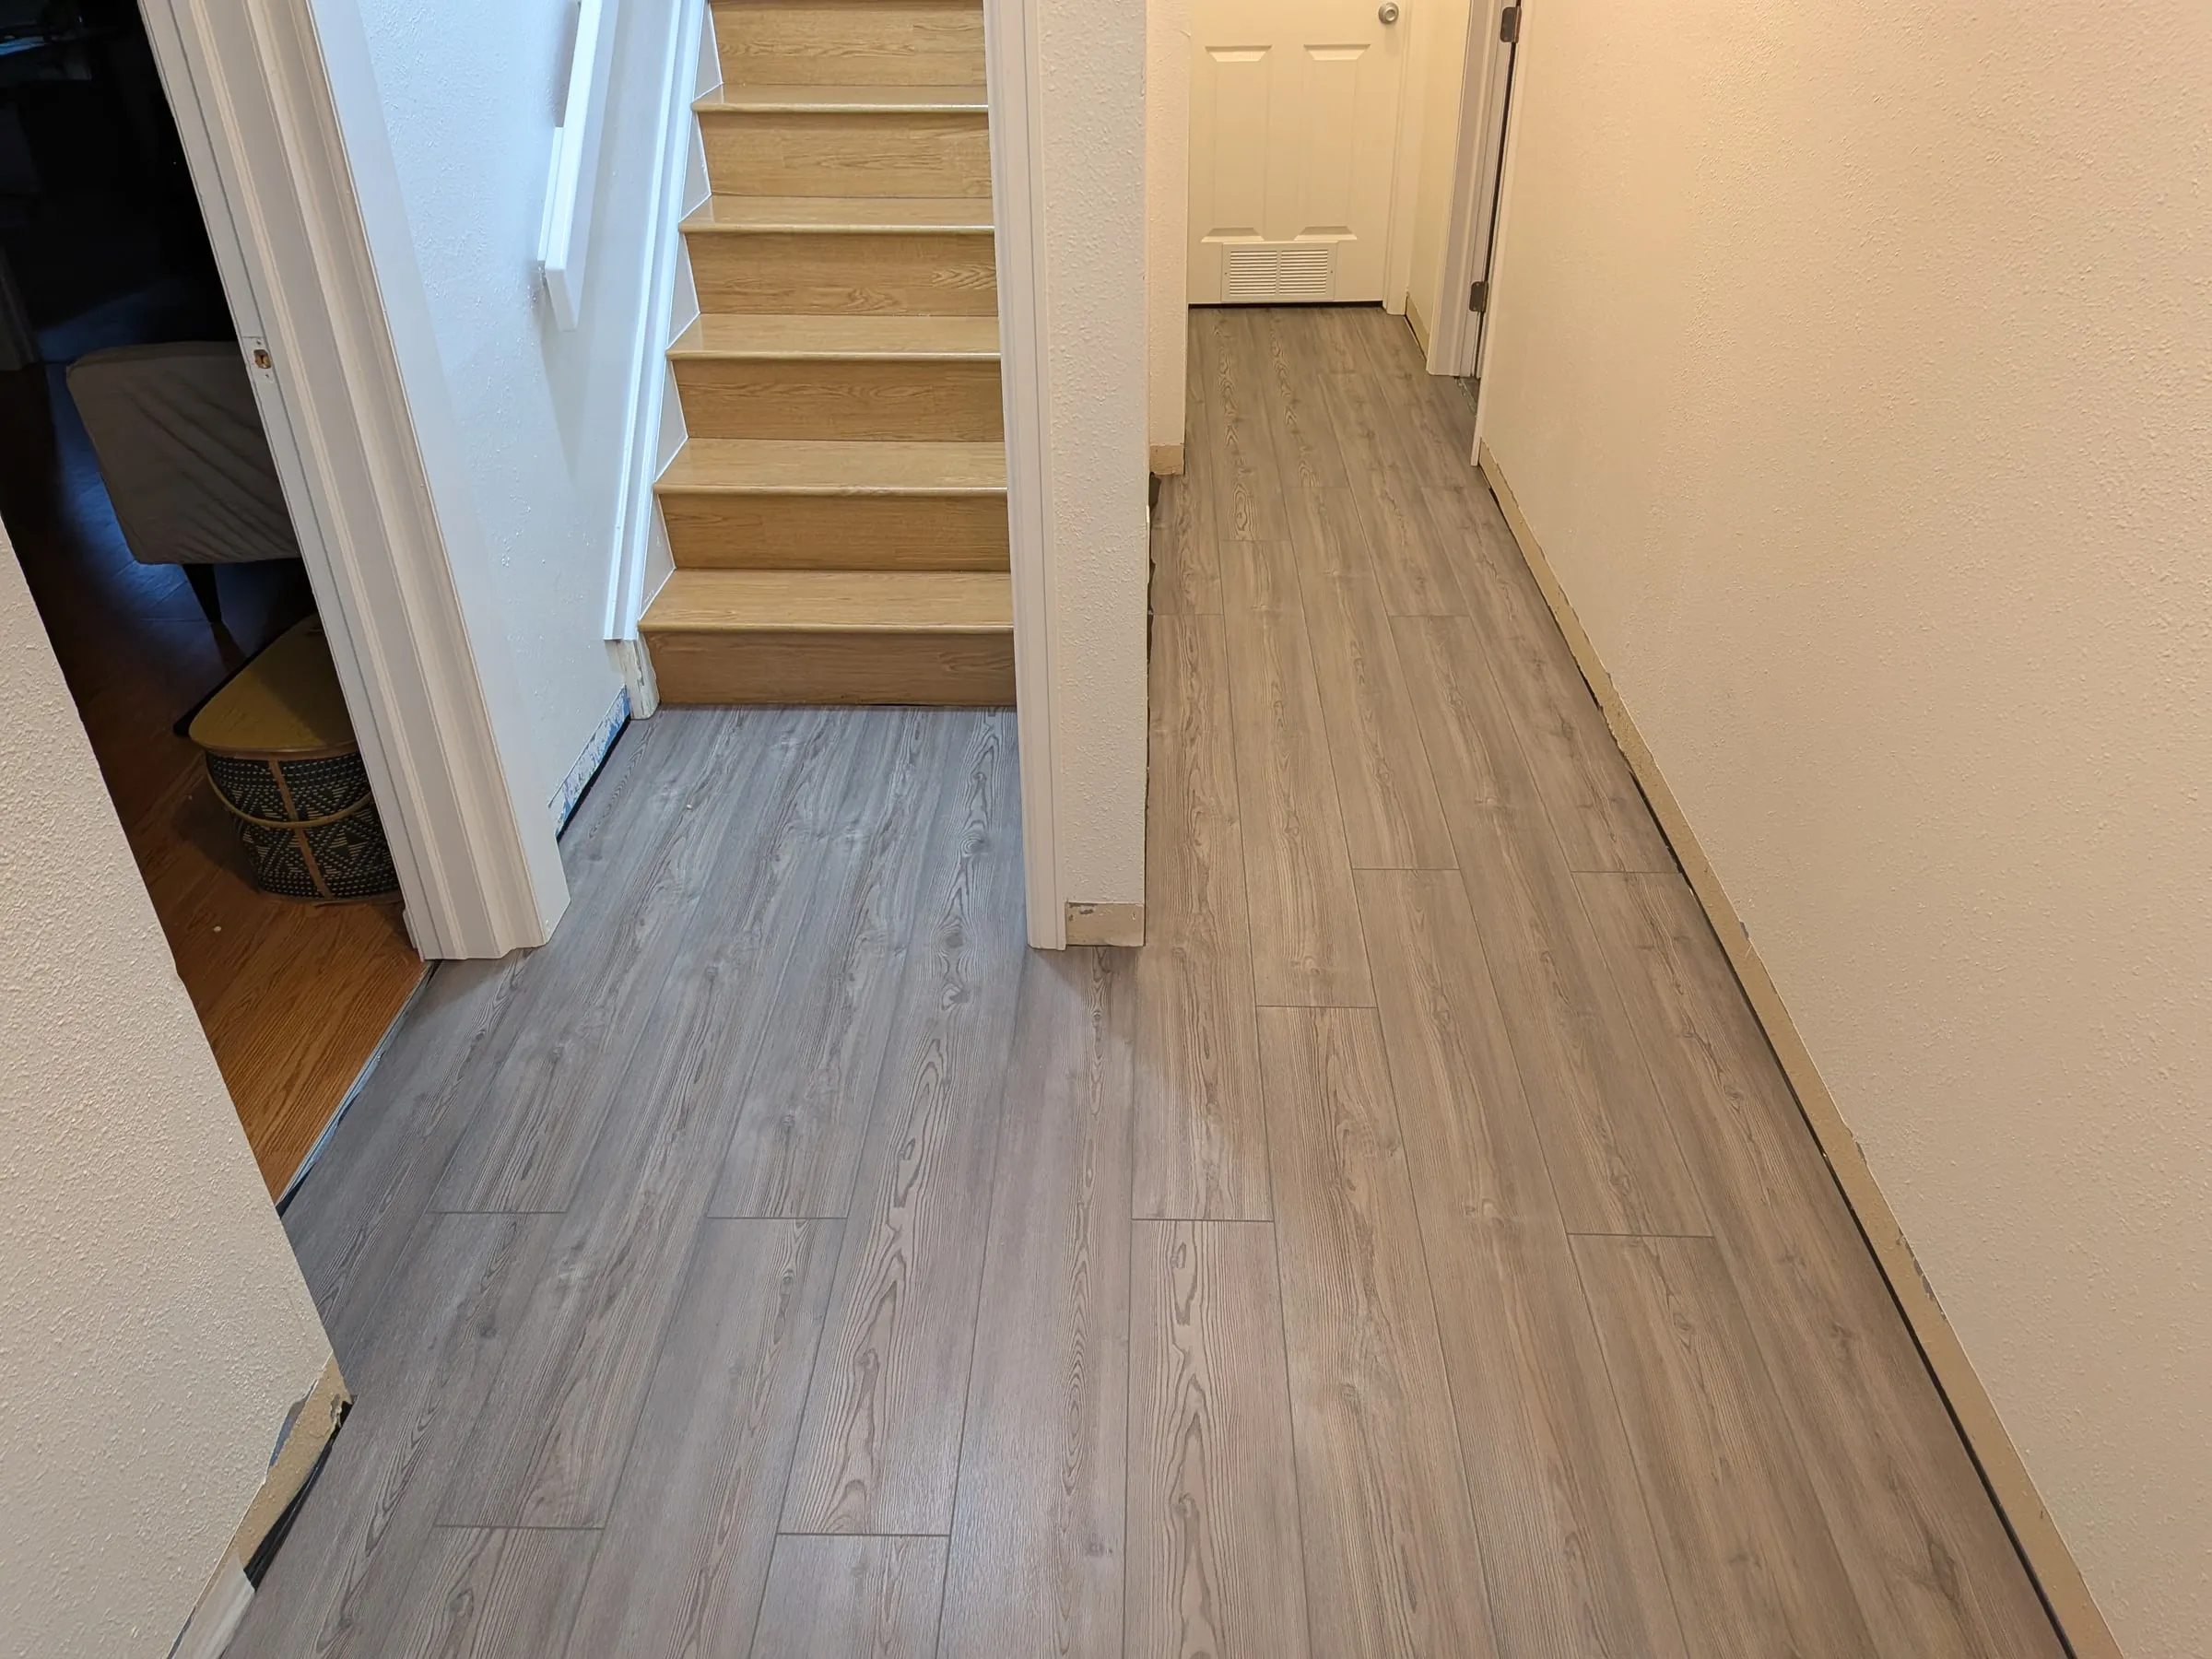
The study closet had awkward geometry and every board landed well.
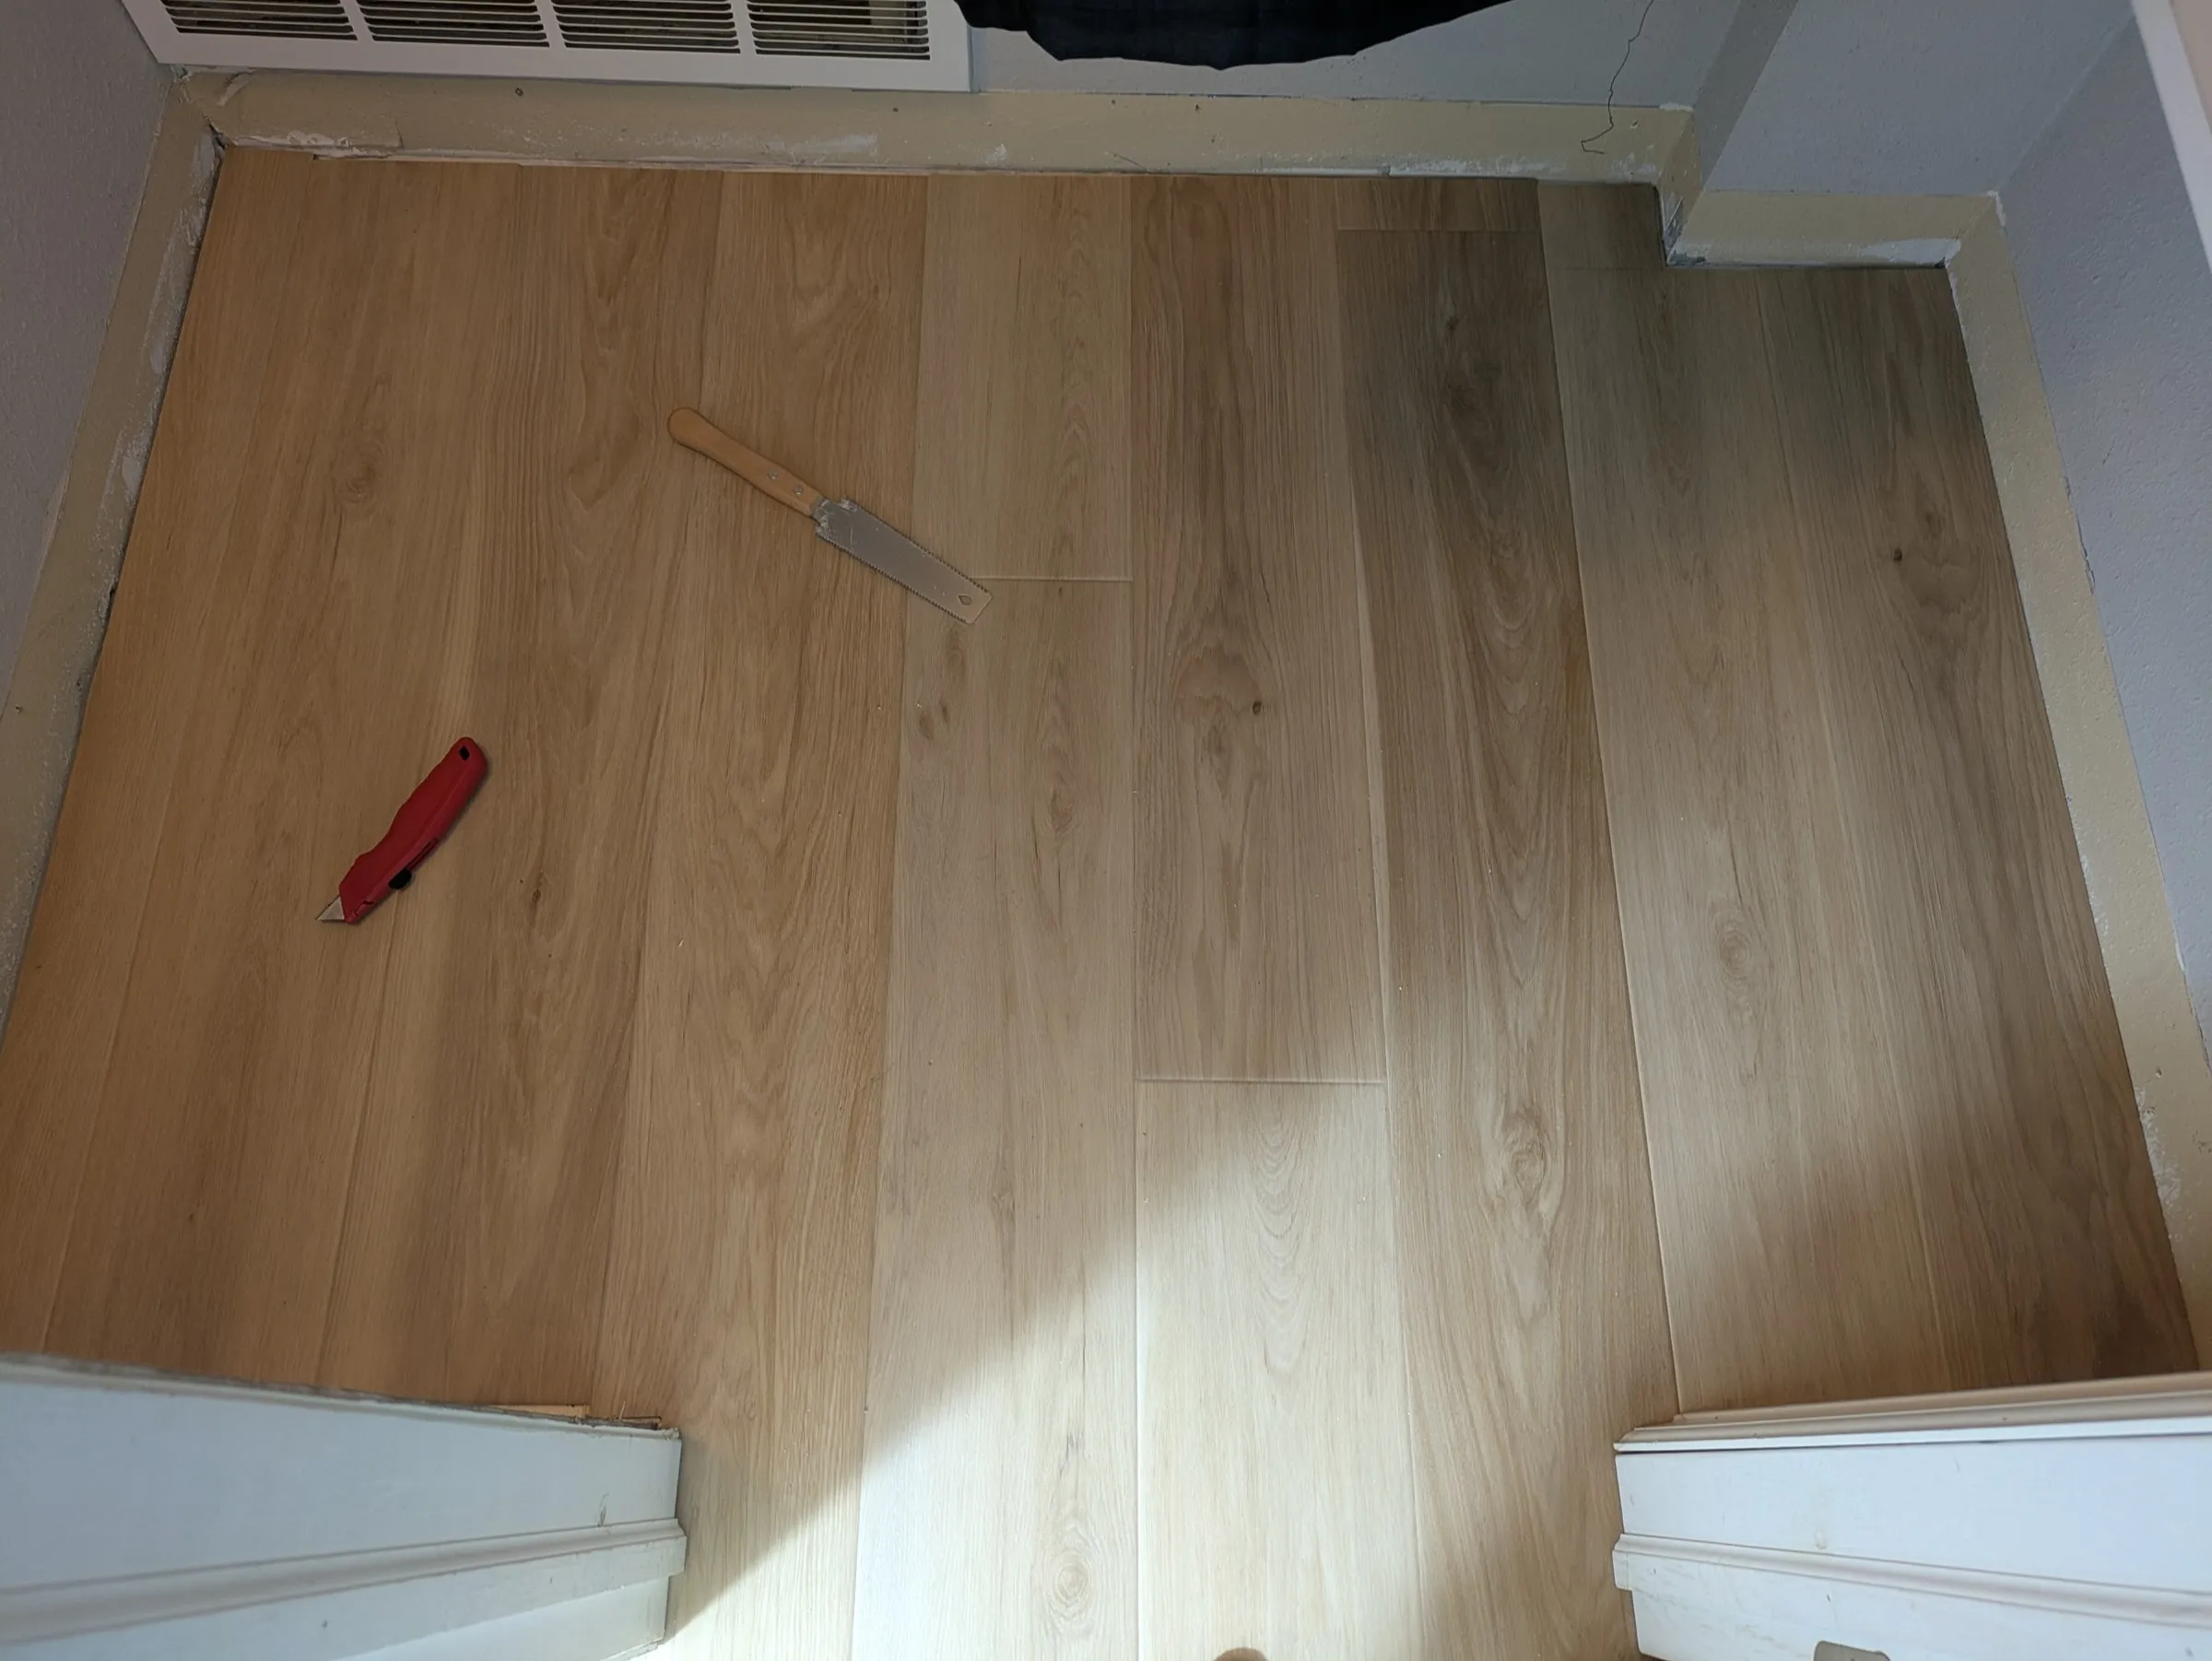
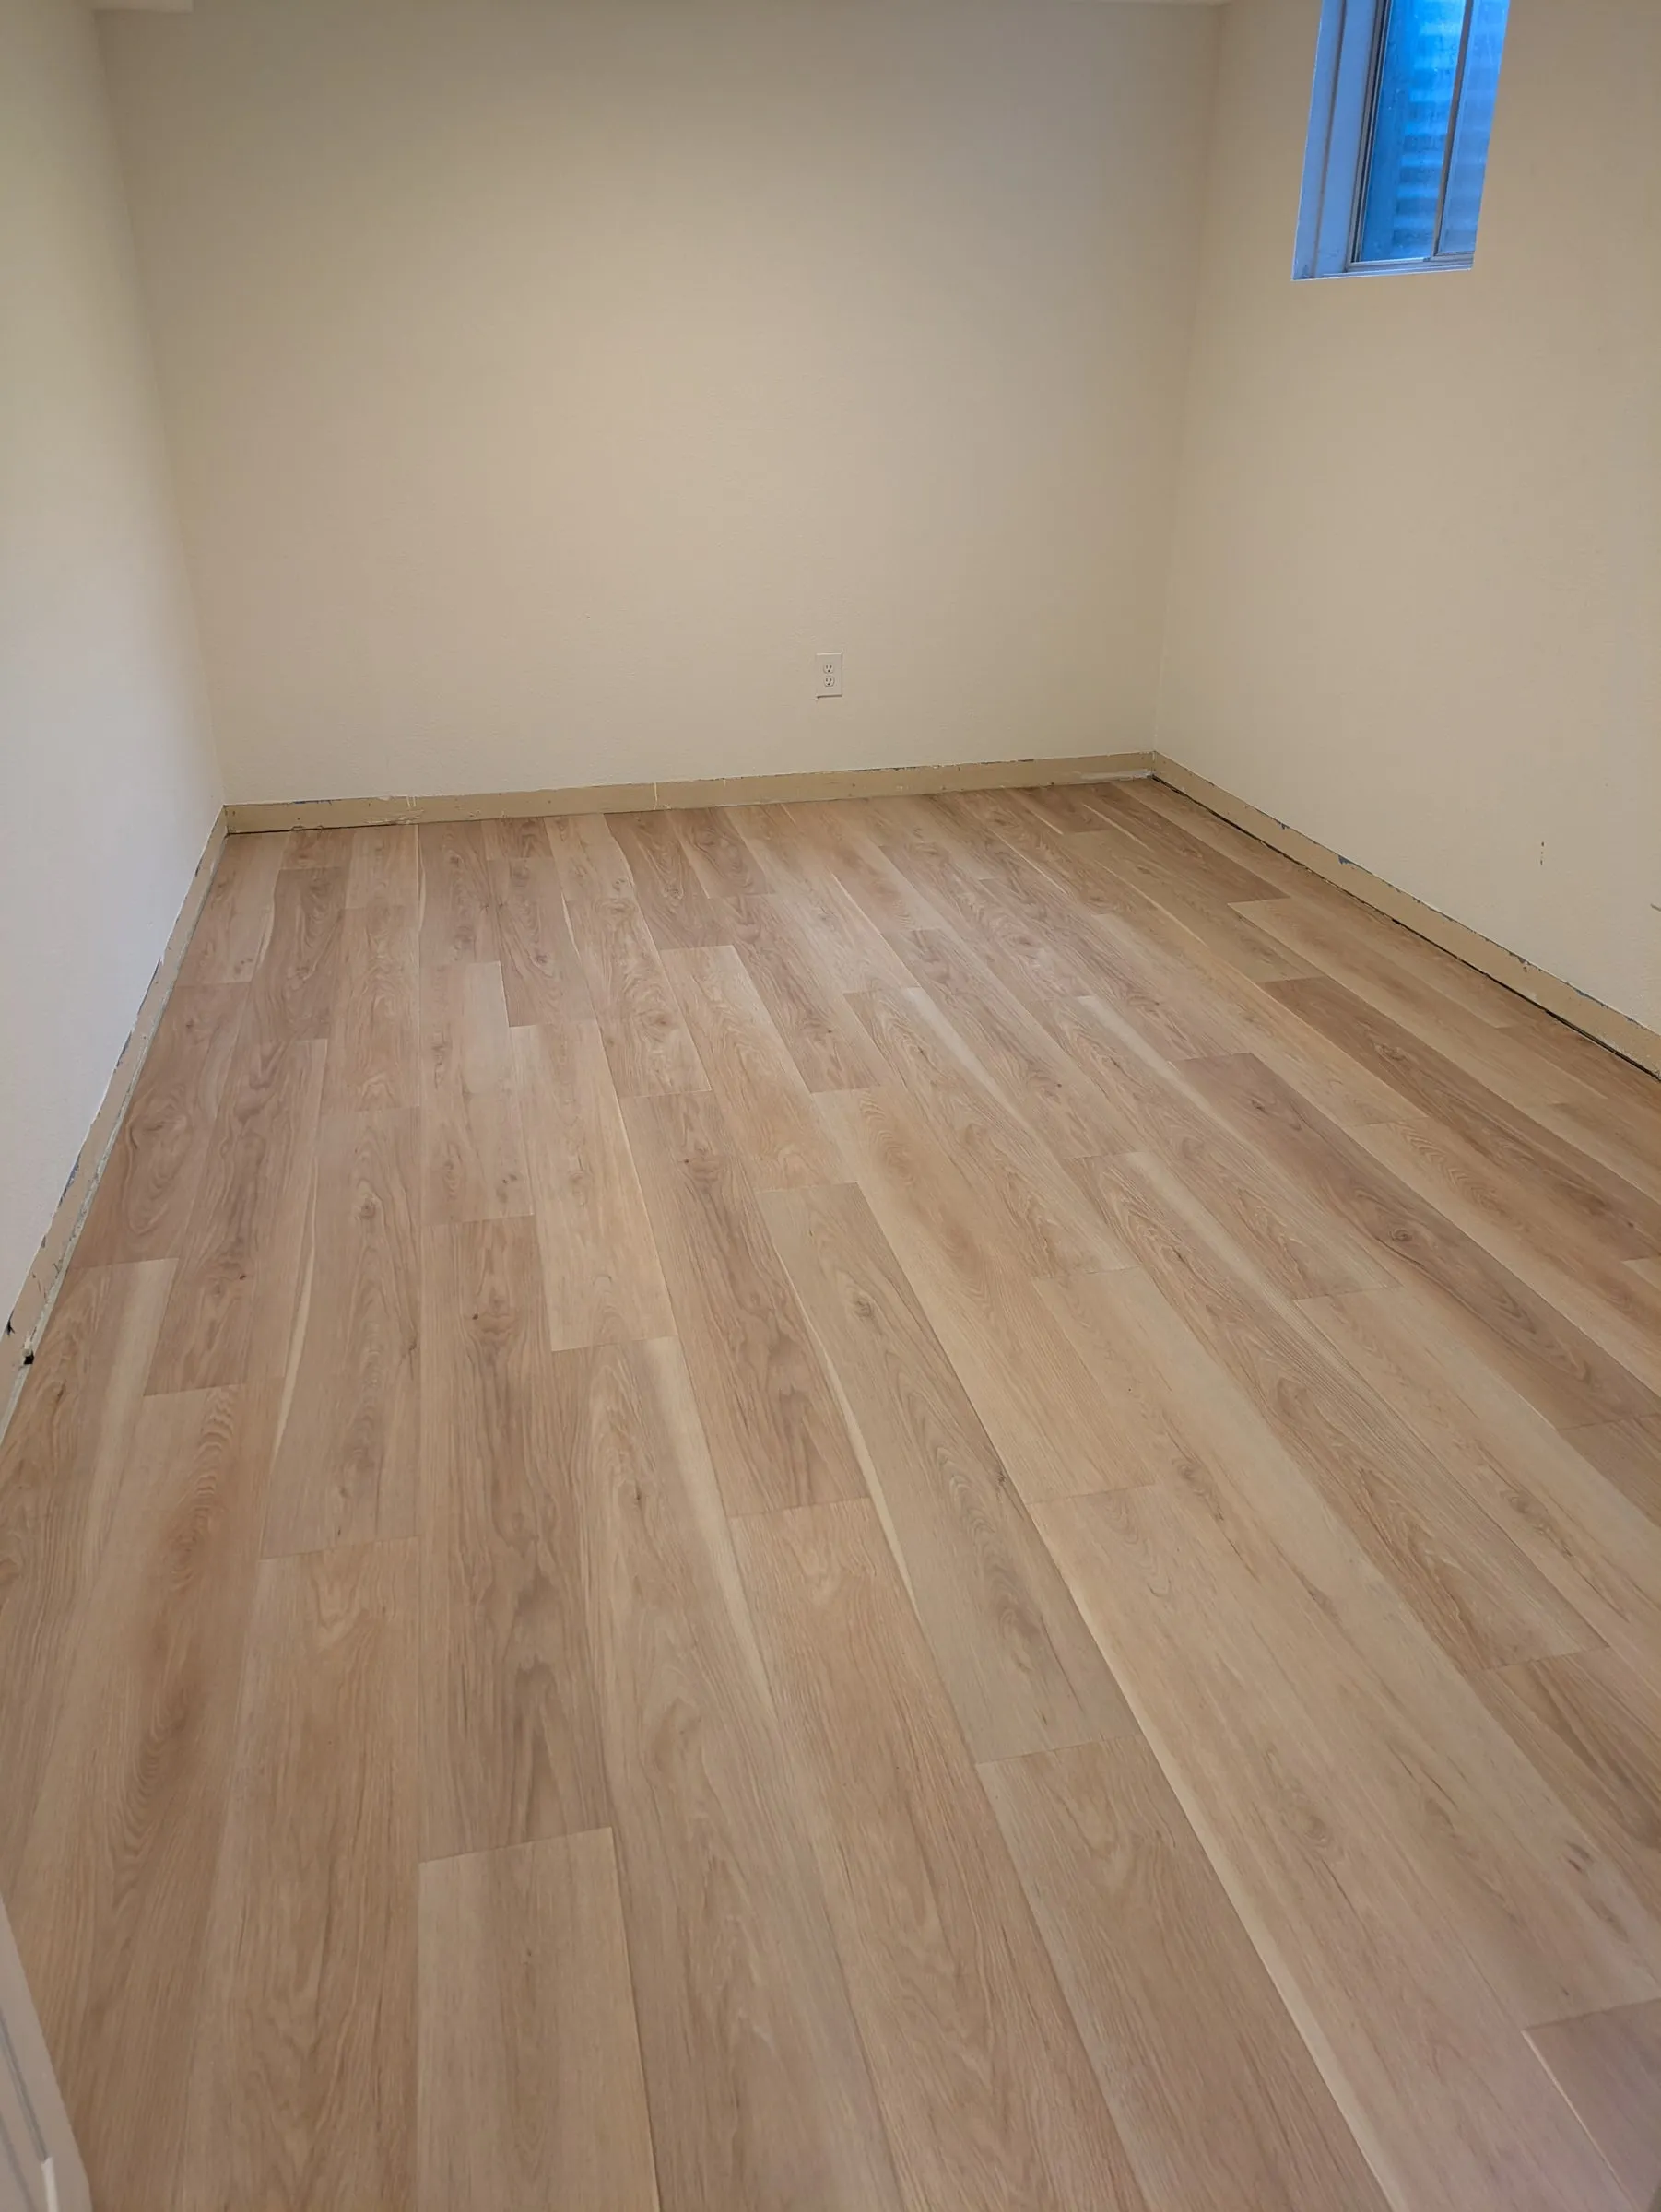
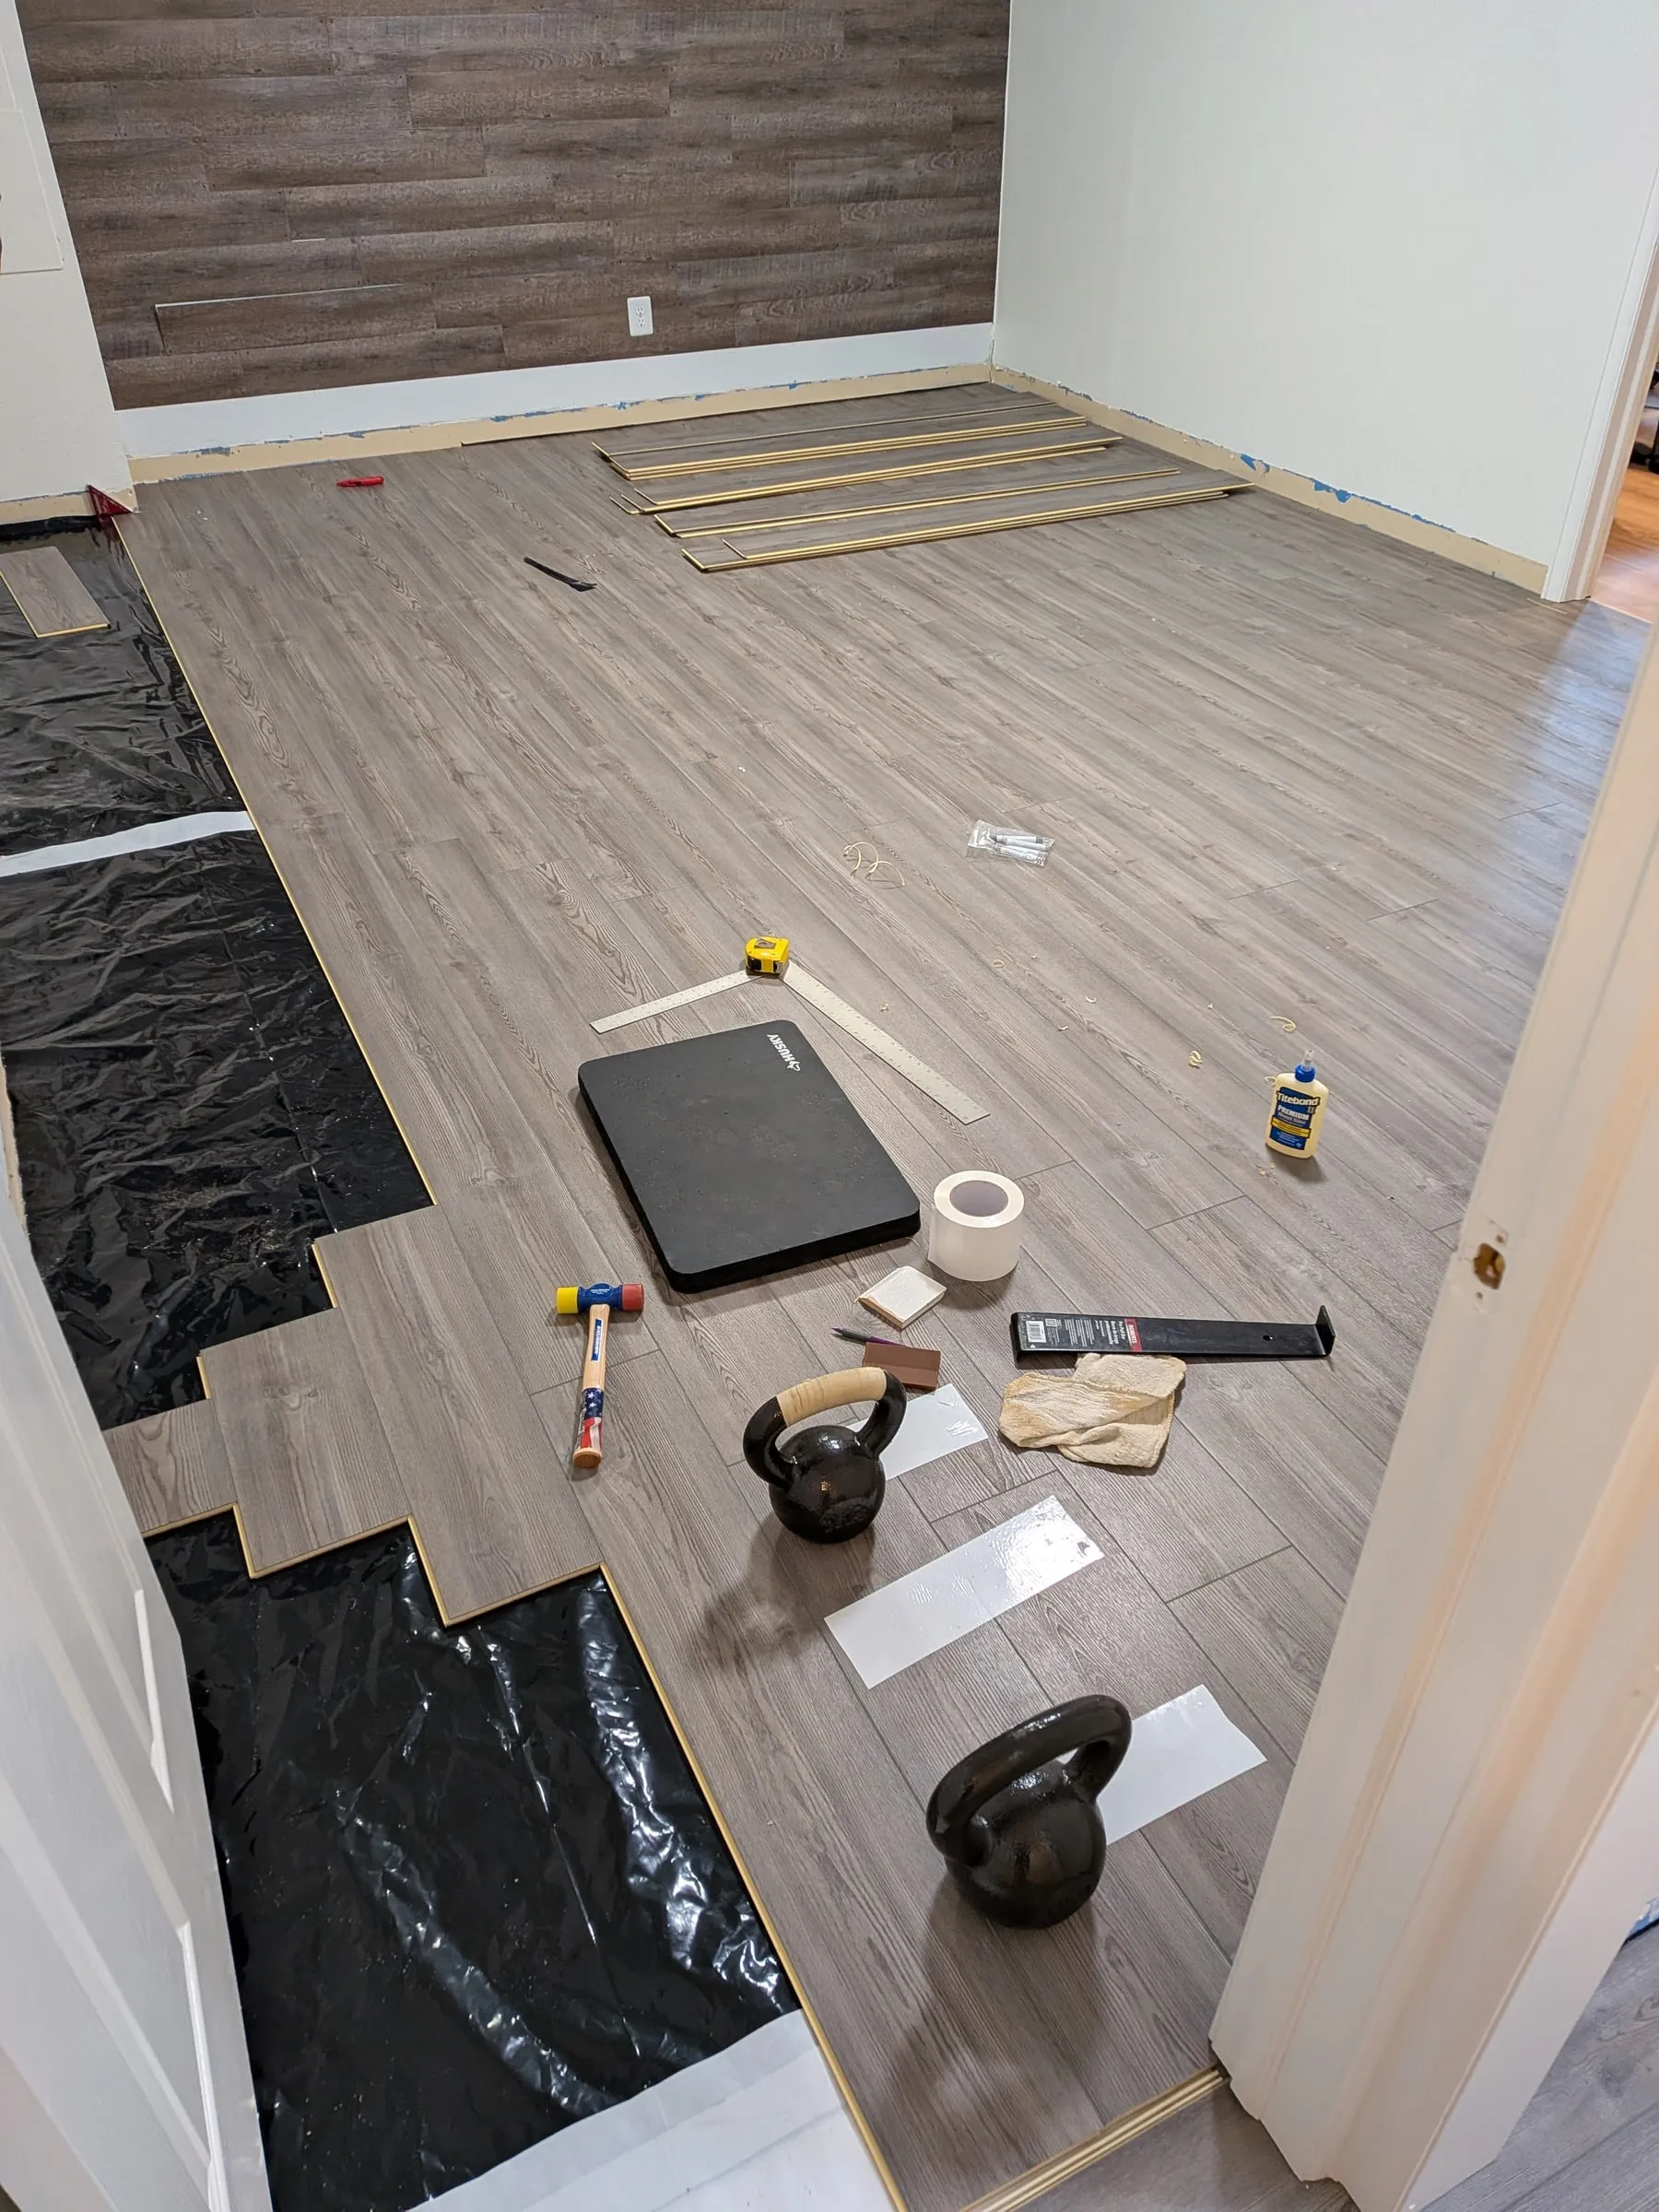
In the rec room I used placeholder rows to confirm the final distance to the wall before committing to the last few.
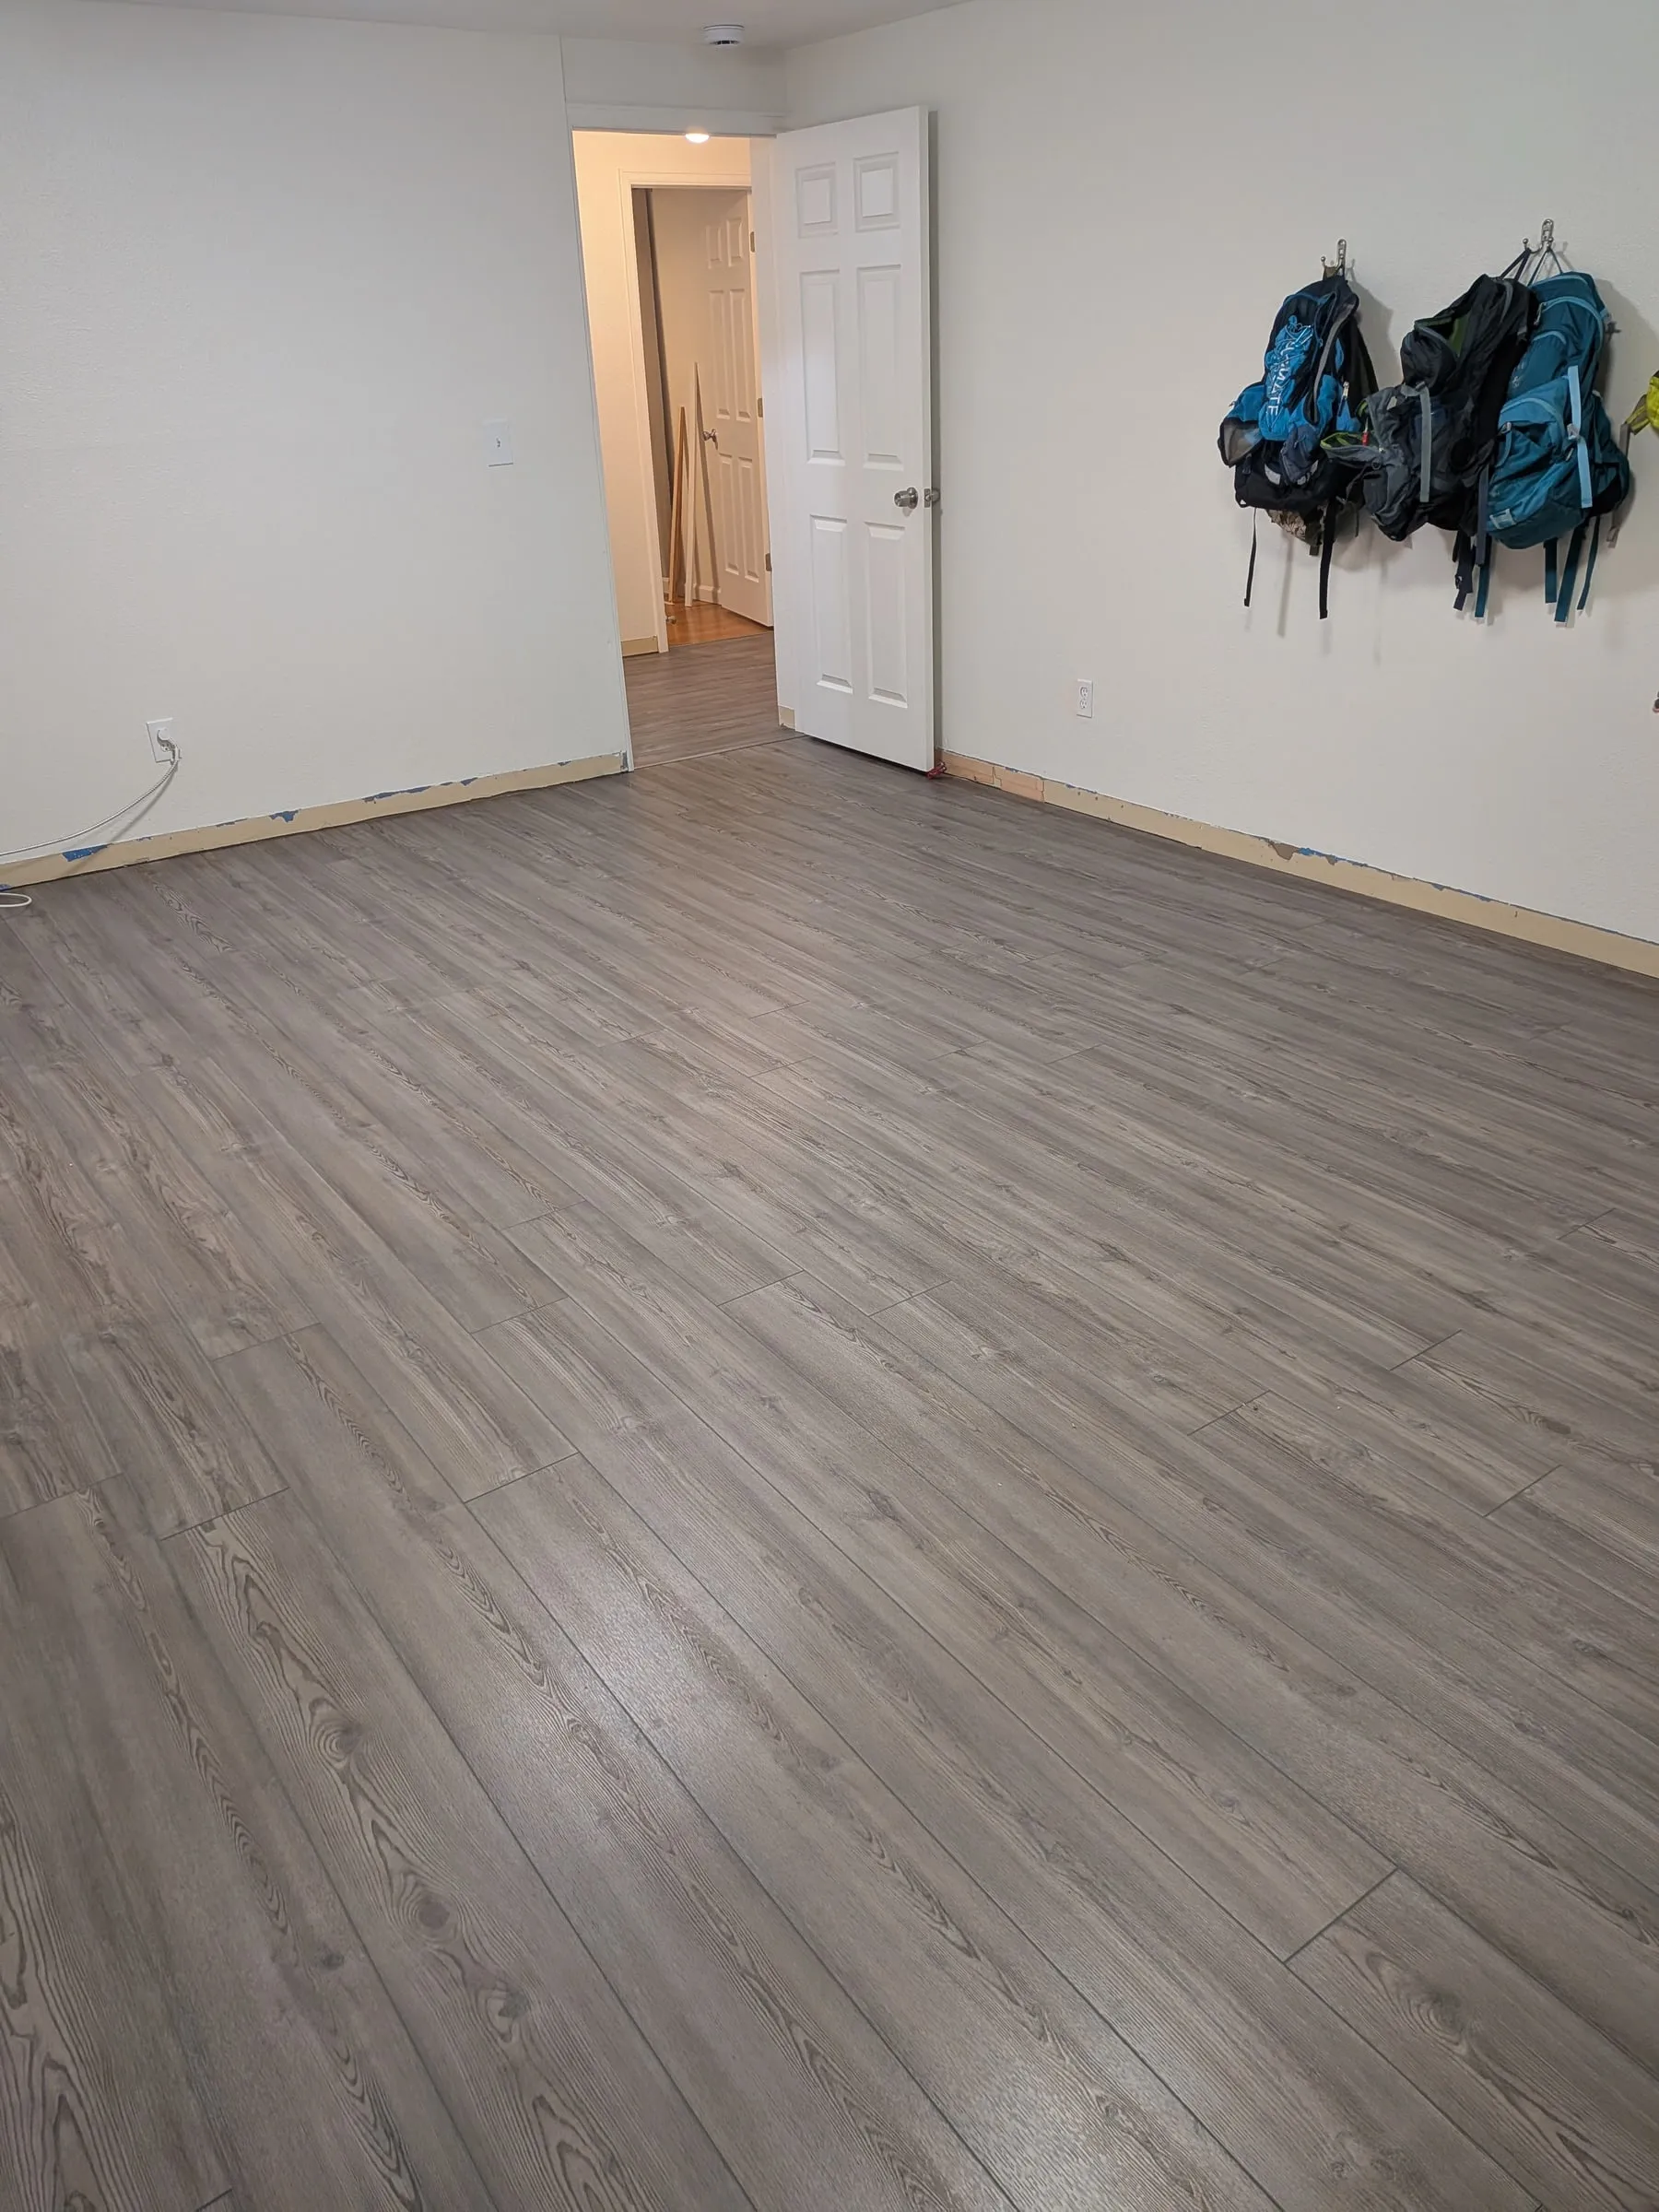
The third bedroom was tight. I finished with three planks left over, which is exactly what my calculations predicted, but I was careful throughout not to make any large mistake that would waste a whole plank.
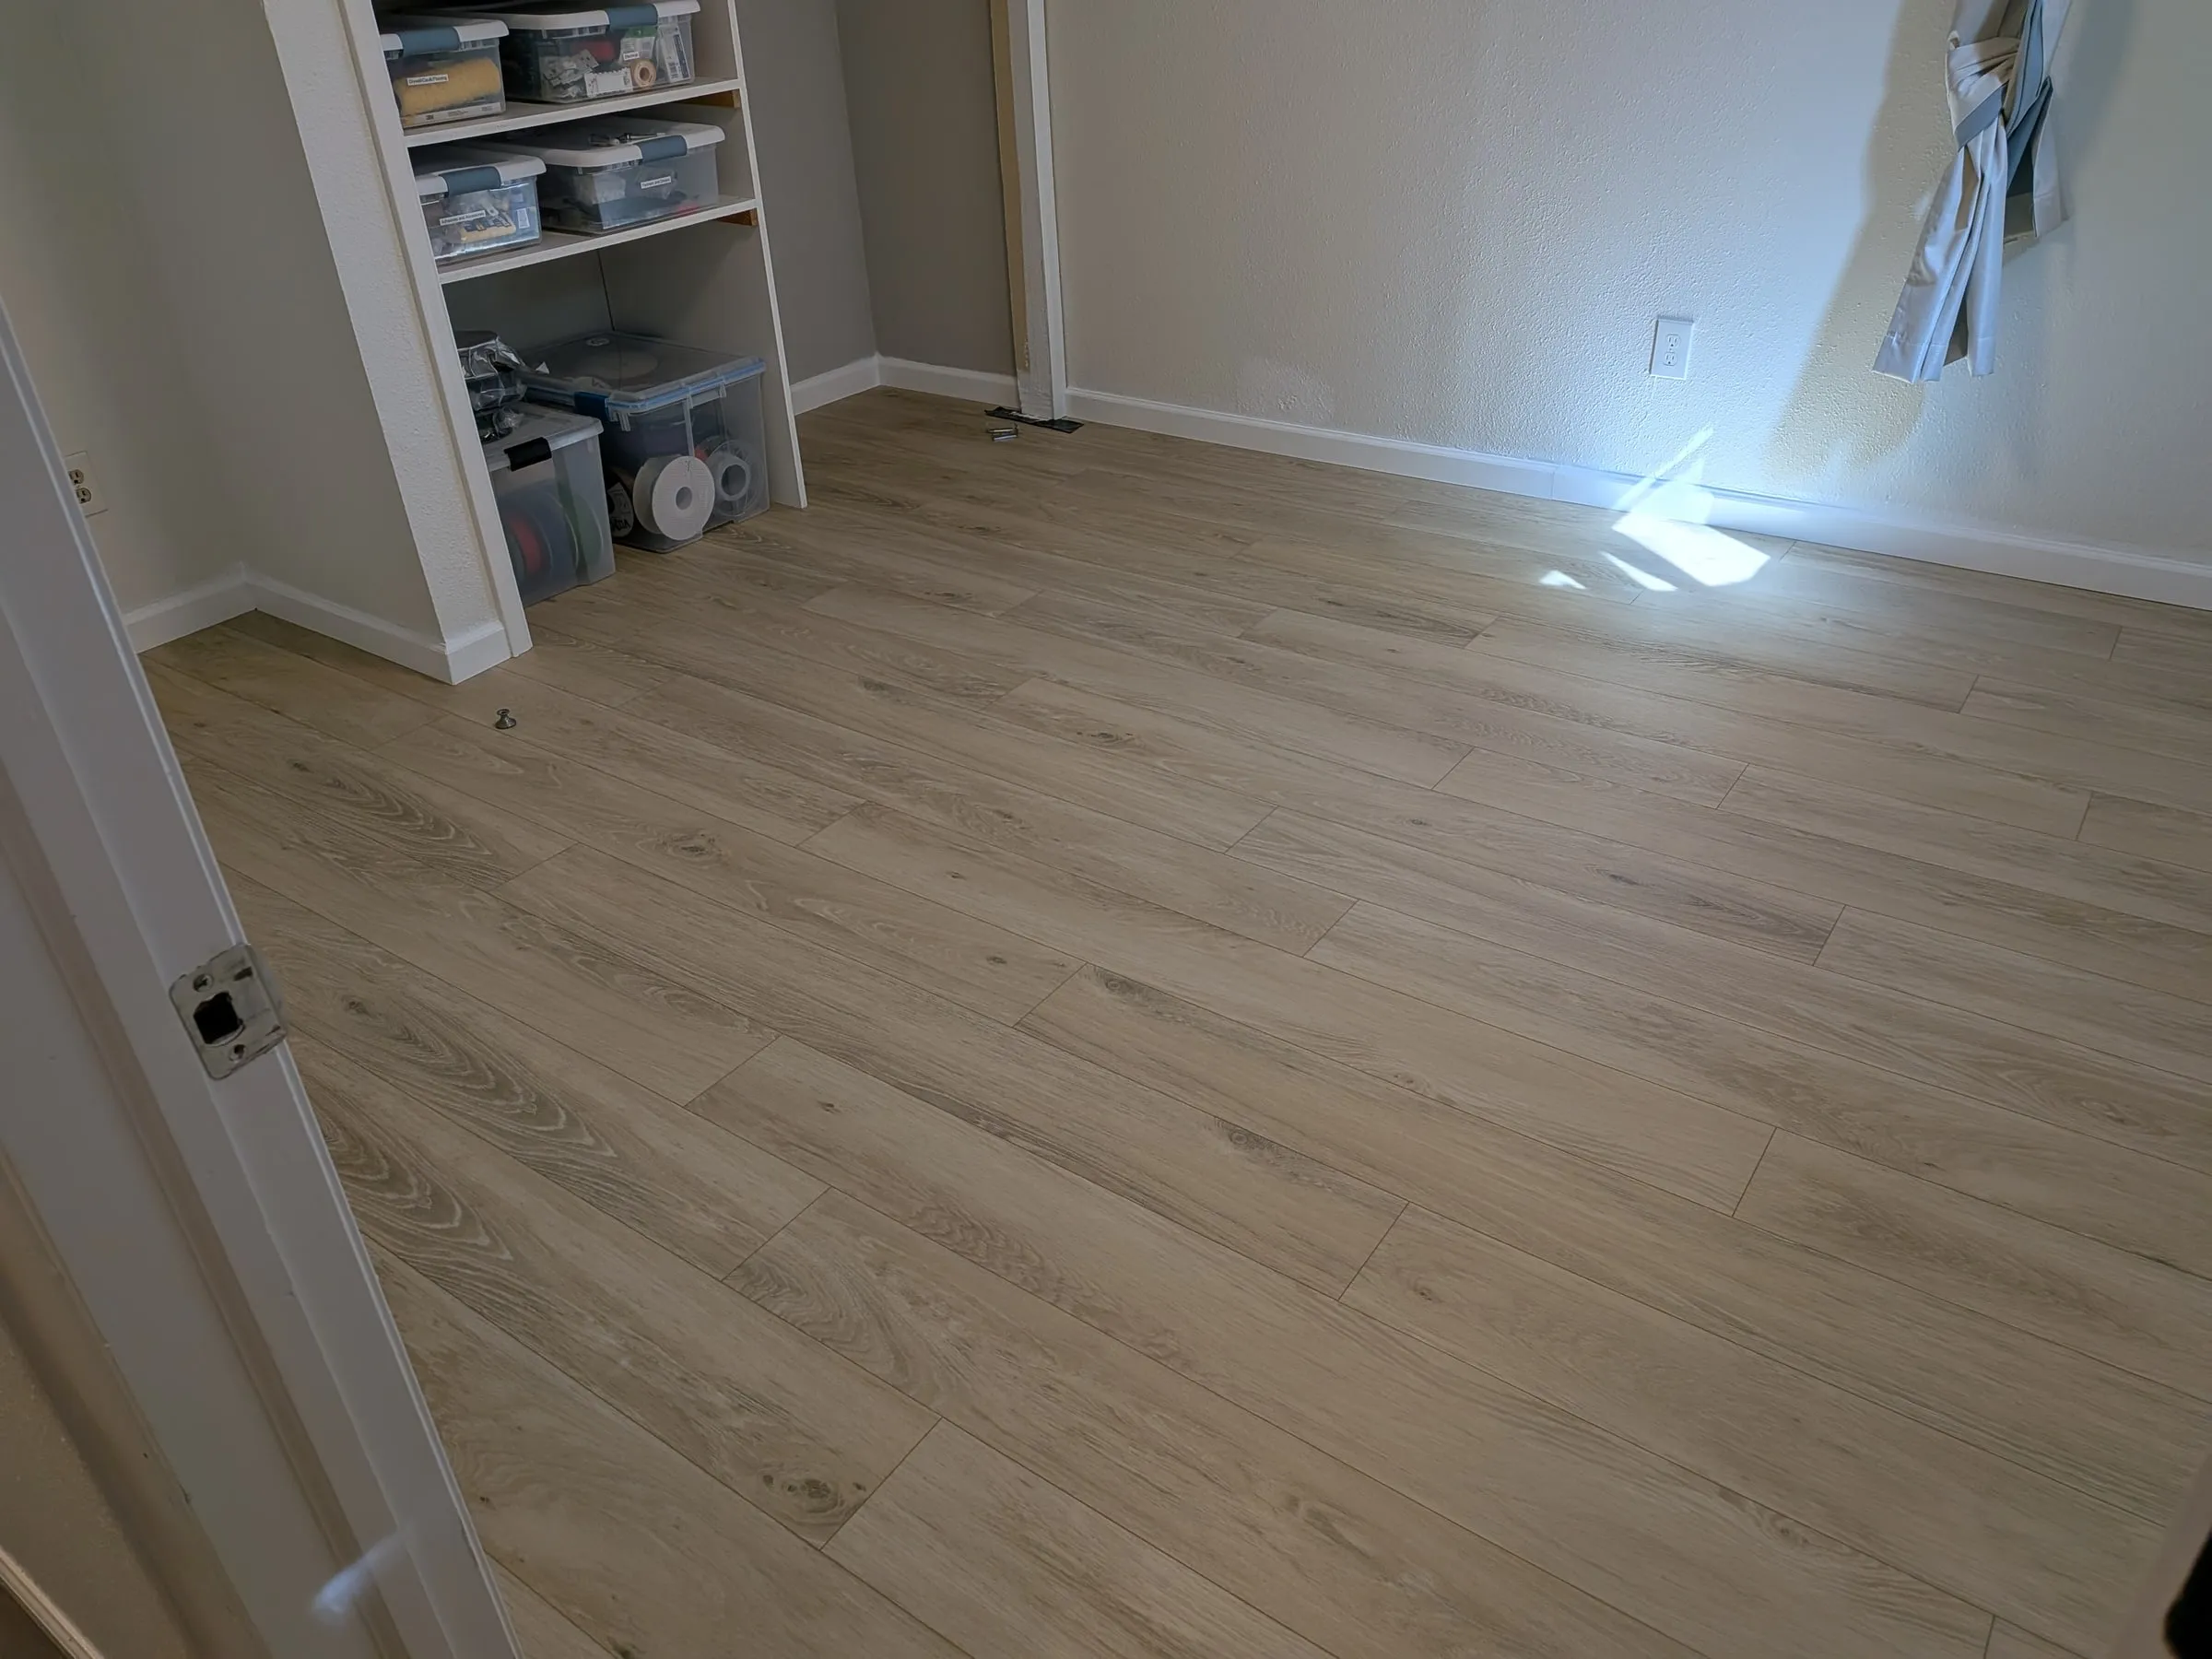
Still to do in there: touch-up paint where holes were filled, cutting in to the baseboards, and reinstalling the closet doors.
Baseboards, and almost no quarter round
Baseboards came off, were sanded and repainted where that was possible and replaced entirely where it was not, then reinstalled, caulked and painted in.
Quarter round is how you hide a lazy install of floor over floor, and there was no reason to need it here. It appears in exactly one place: the bottom of the stairs, where a baseboard would have been inappropriate.
Thresholds
Transitions that involve Bravado Pine — study to rec room, rec room to hallway, hallway to third bedroom, and hallway to the utility room slab — use bought trim in the matching color. Two T-moldings, one reducing molding and one quarter round came to $280 shipped.
Four pieces of trim, for close to half of what all 450 sq ft of the Bravado Pine flooring itself cost. And for that money they are extremely low quality: a sticker on extruded PVC, without even a wear layer.
The one I made instead
For the only transition that does not involve Bravado Pine, bathroom to bedroom, I built my own out of a Karastan board.
An indistinguishable board of different dimensions had been thrown in with the pickled oak I ordered, so that became the raw material:
- Broke the board from the back and peeled off the wear layer and the texture/print layer, keeping both.
- Cut the remaining core to width and length.
- Added a second layer of core material to the bottom, half an inch wide, to sit directly on the slab and support the threshold above it. Bonded with 3M 468MP transfer adhesive.
- Wrapped the T-threshold core in the same adhesive.
- With a heat gun, wrapped the adhesive in the texture layer I had peeled off.
It was glued down with construction adhesive.
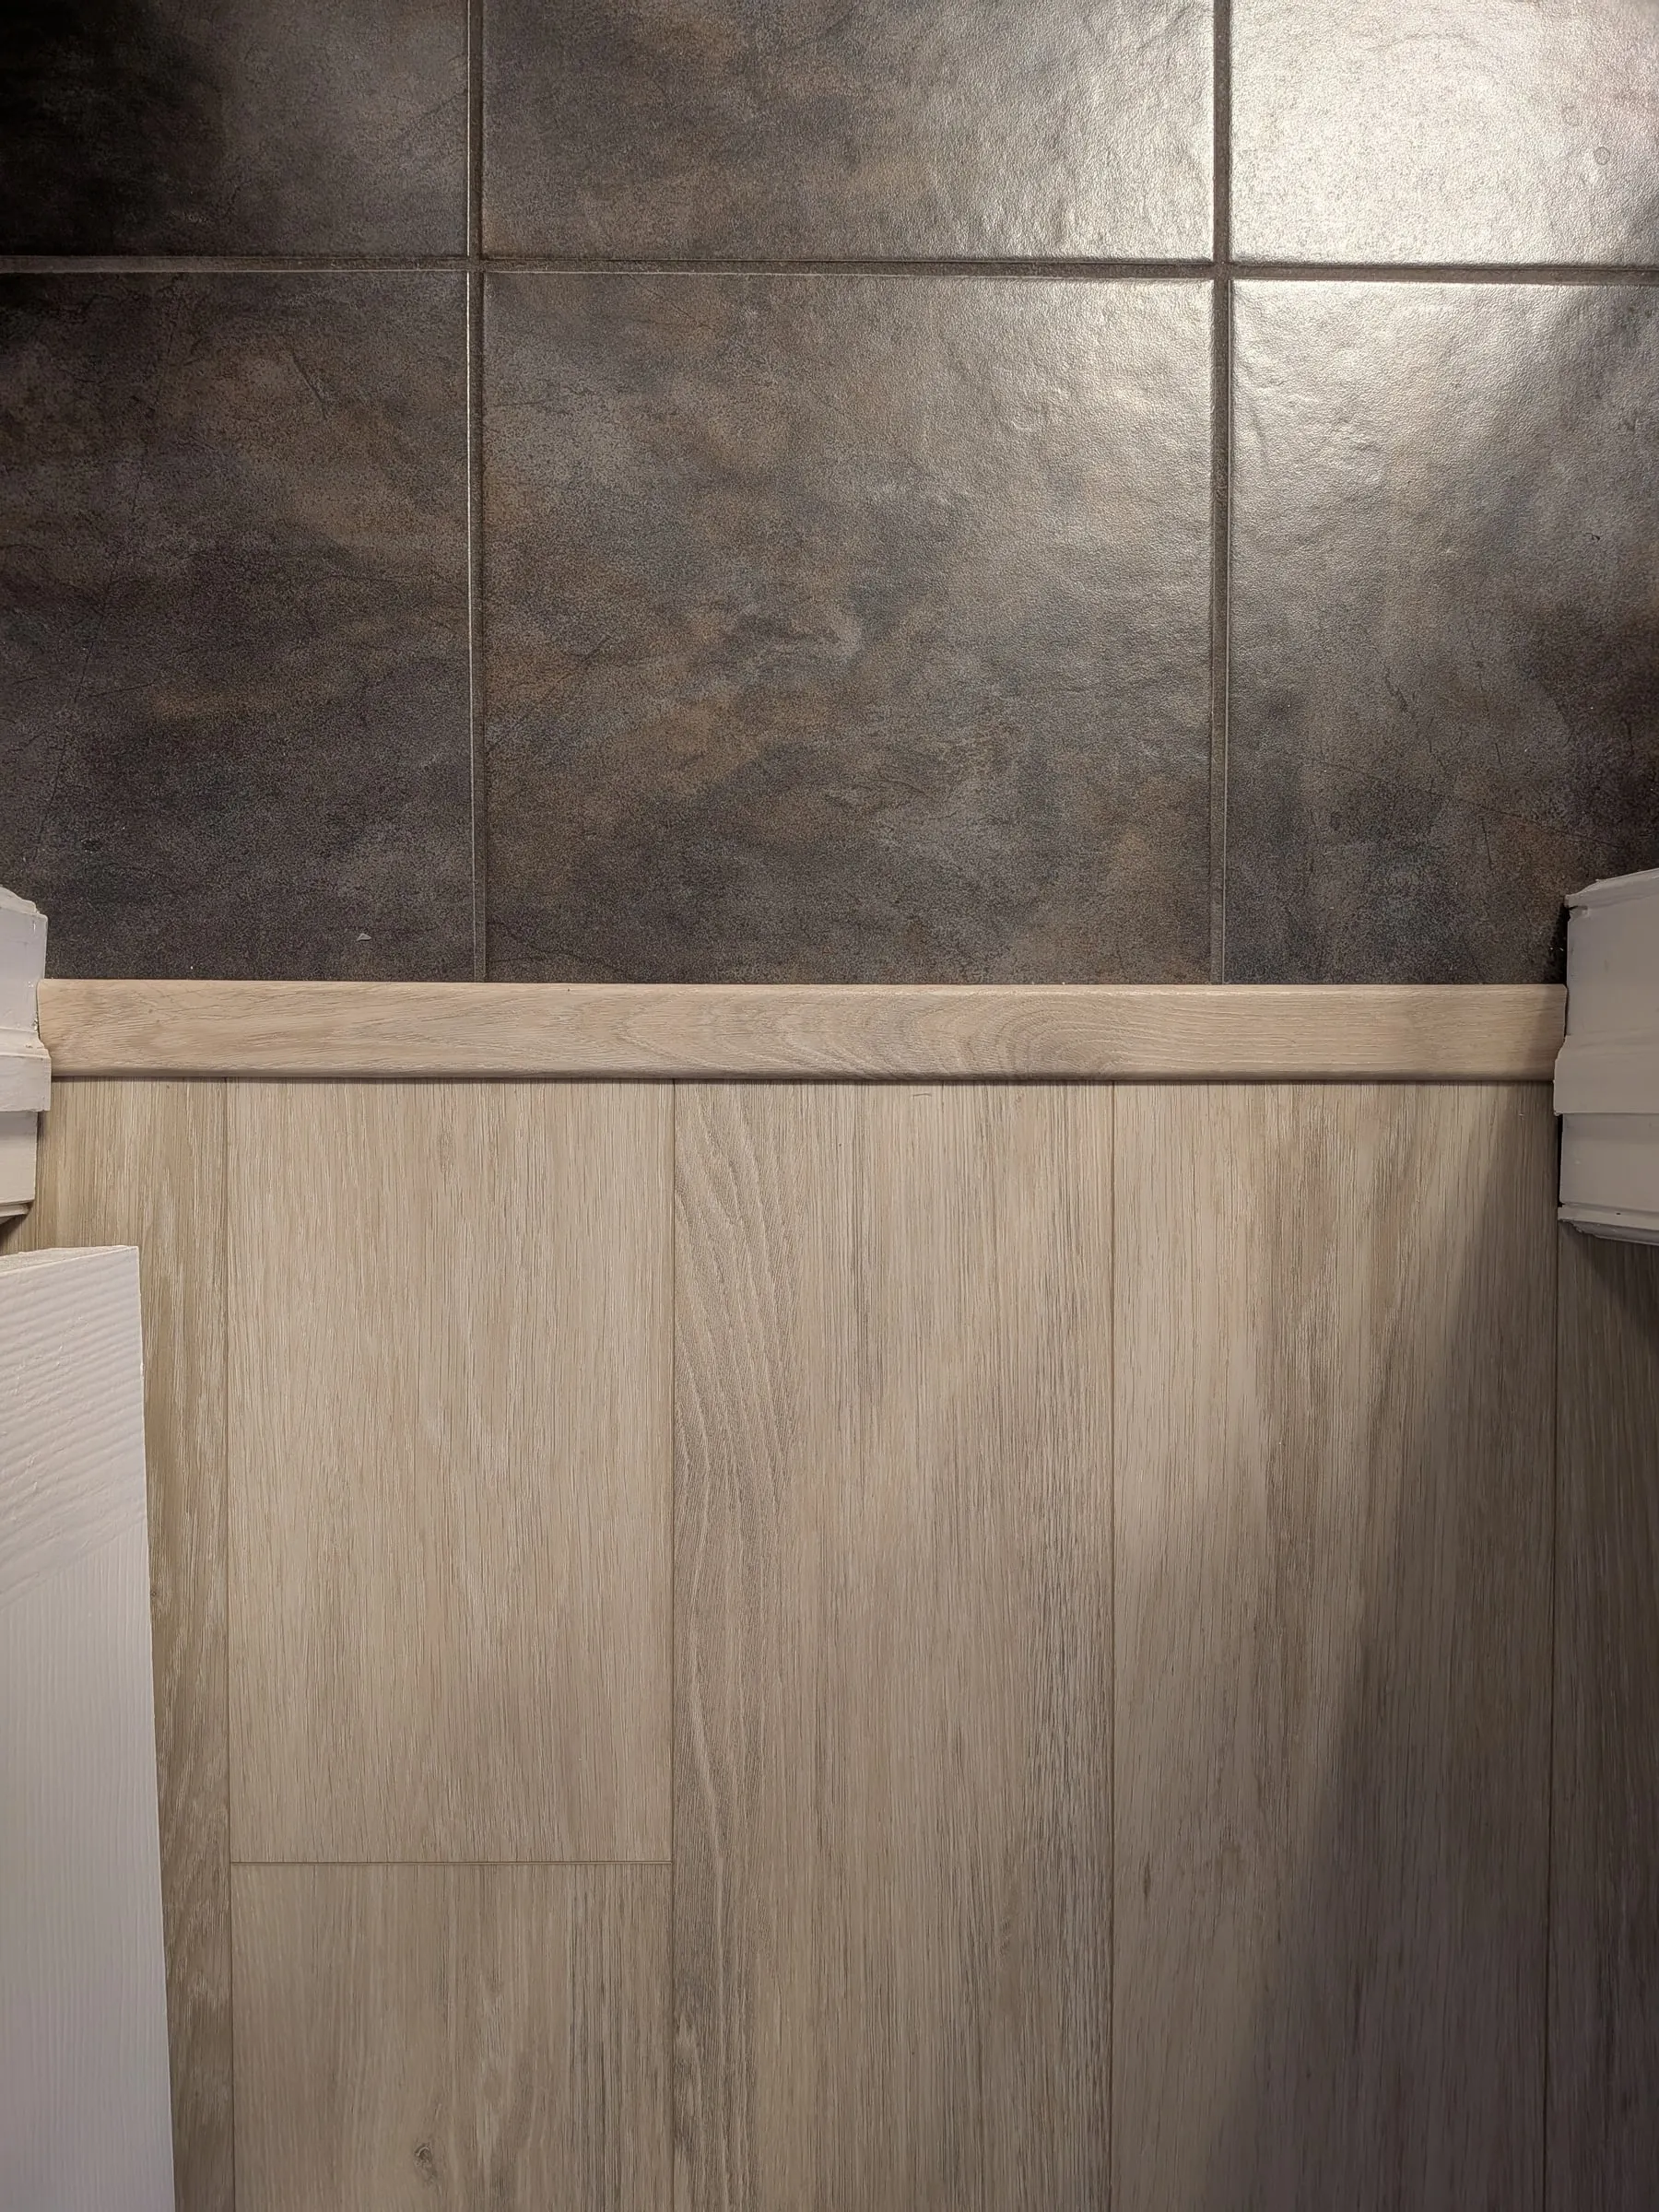
It looks better than the Shaw thresholds, is significantly sturdier, has a proper wear layer and texture, and can be rebuilt or replaced. The adhesive was $15 for the roll, against more than $100 for one shipped threshold.
The accent wall
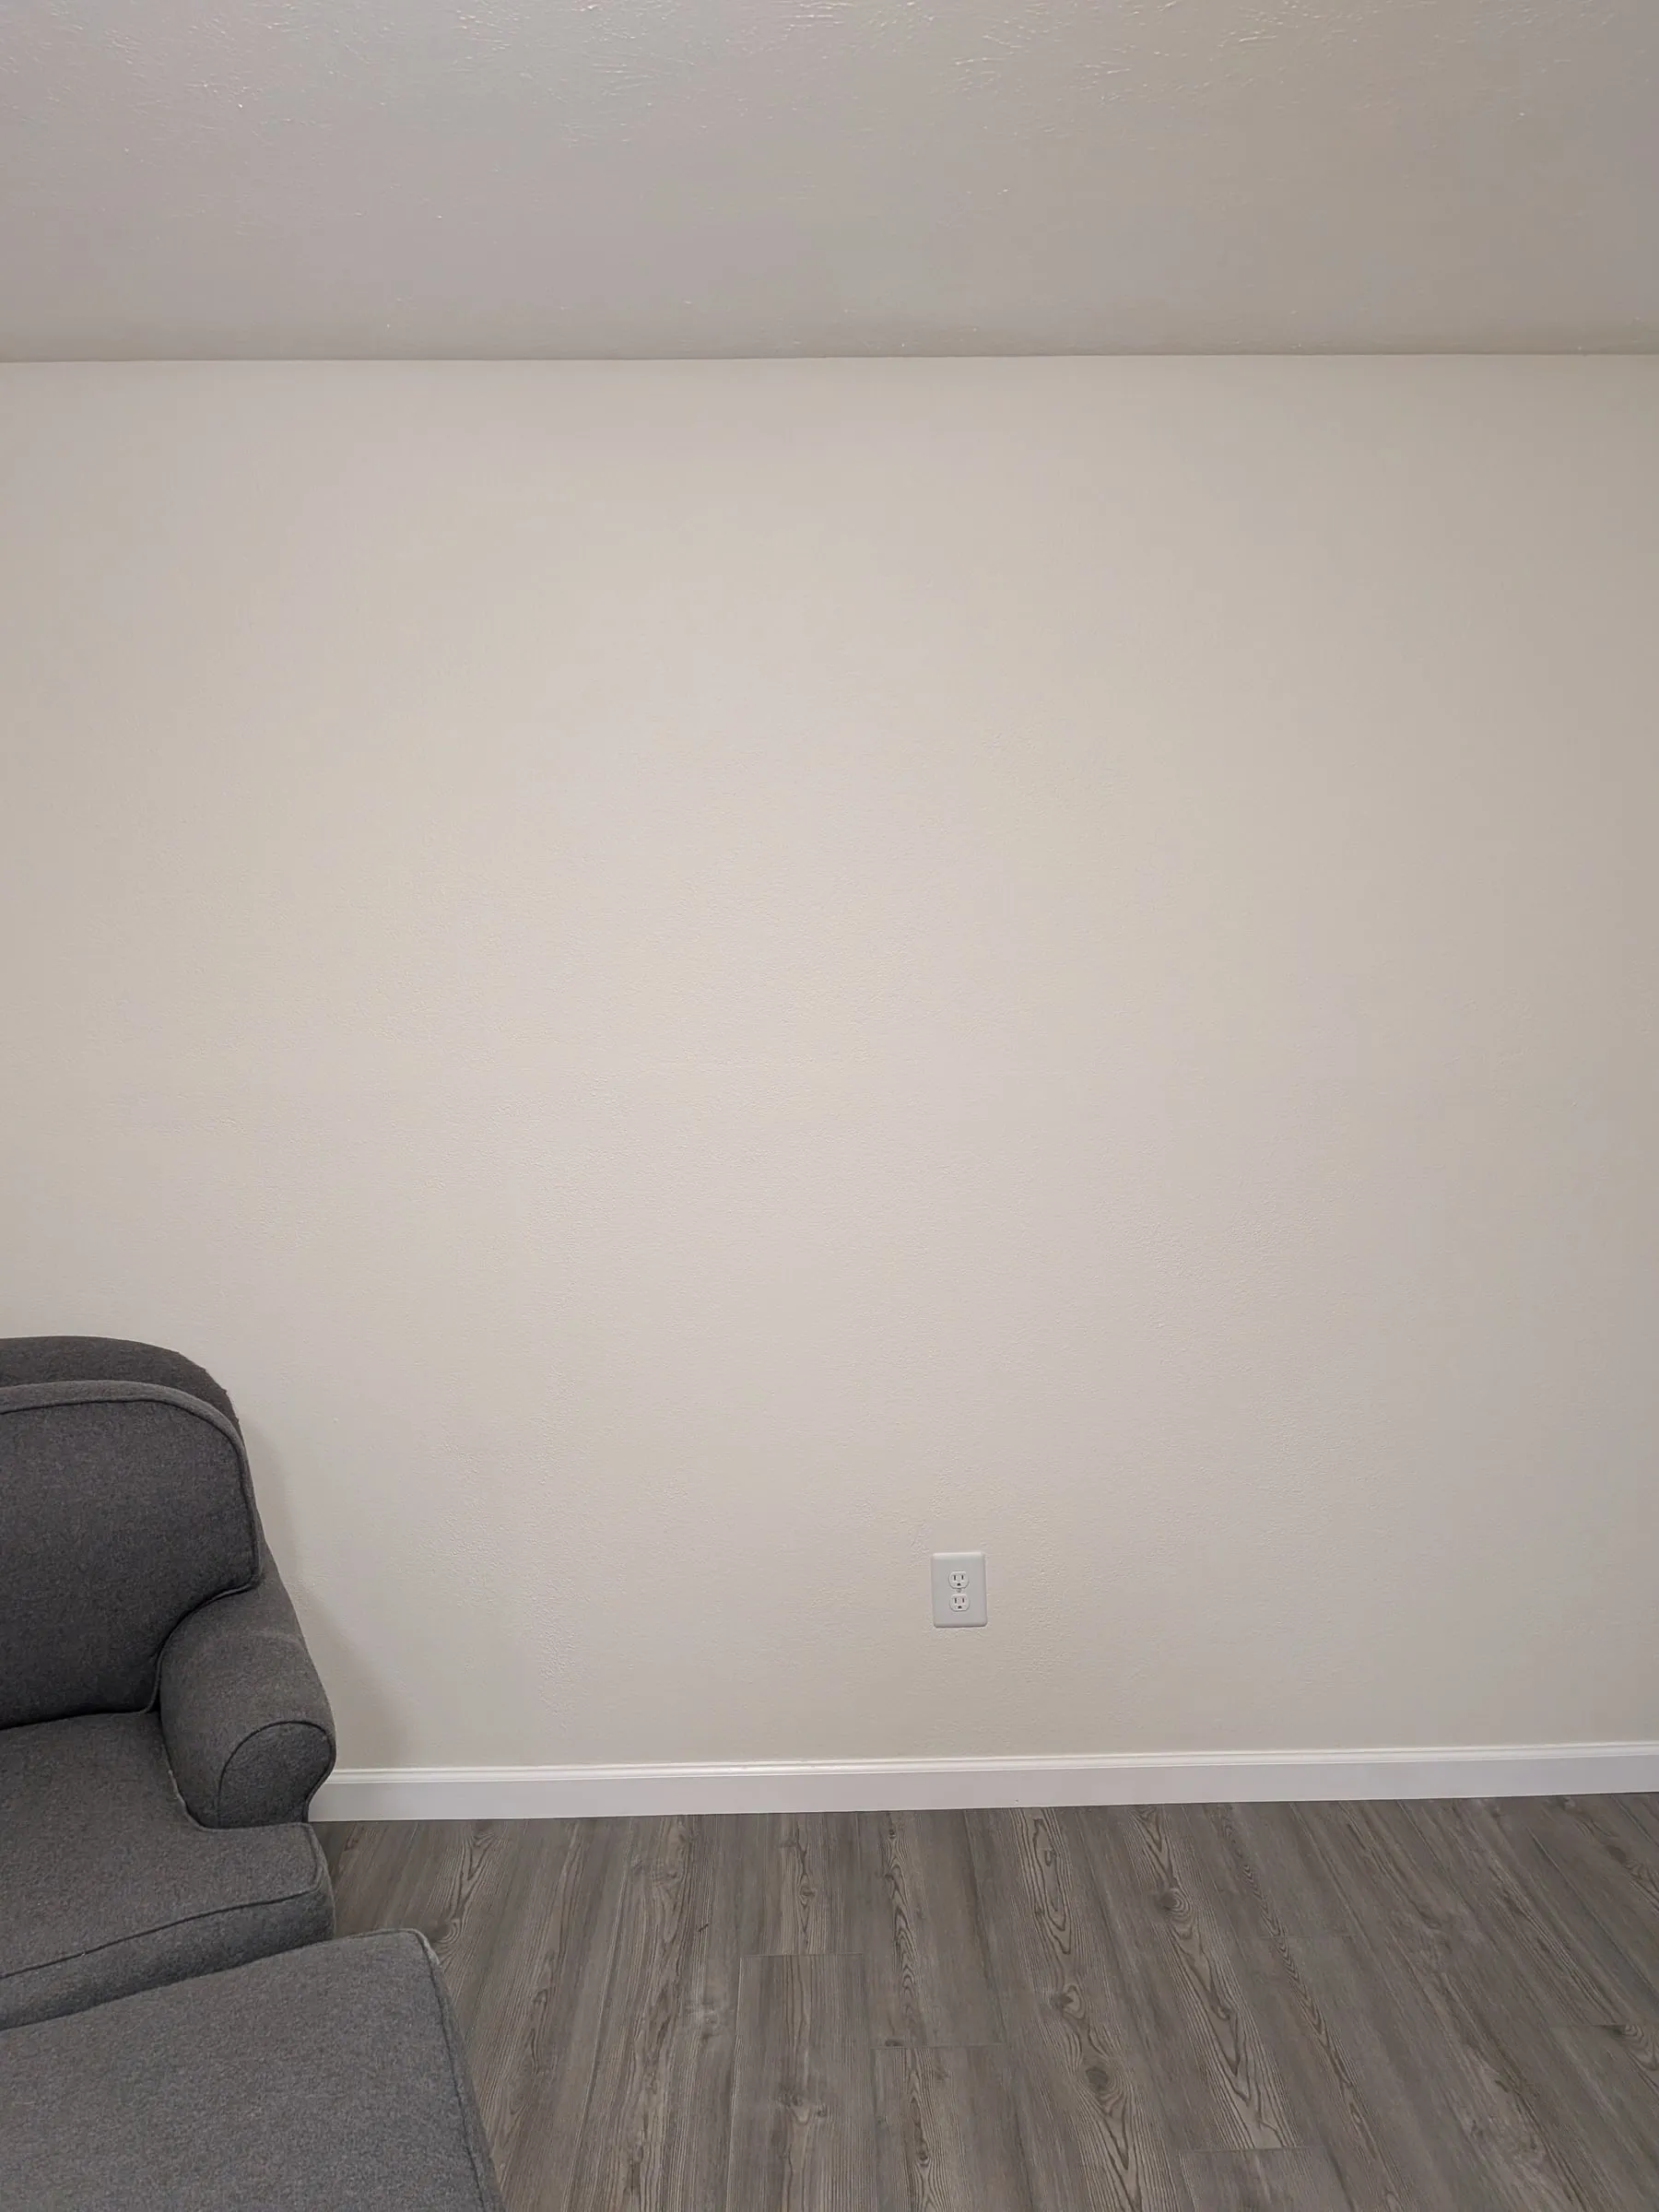
The rec room had an accent wall that had to go. It was cheap thin vinyl, adhered poorly and then nailed to the drywall, so it was a bowed, gappy mess. It was also too close to the floor color we had chosen.
It is visible in the rec room photo above with three rows left. Removing it went:
- Pull the vinyl off
- Clean the adhesive with Goo Gone
- Clean the Goo Gone off with TSP
- Clean the TSP off with water
- Patch the nail holes
- Spray texture to match the other walls
- Prime
- Paint
What I would do differently
Be more careful with the Karastan. It is brittle and I did not handle it carefully enough. The broken end connectors were frustrating and avoidable.
Space out the rec room. I severely underestimated it. It is deceptively large, and I tried to push the whole thing through in a single weekend. Knowing what that actually took, I would spread it over more than one.
Keep the baseboards. I threw out the ones from the study back in May 2025, thinking I would get a cleaner final product starting from scratch. That was an over-optimization. I would reuse them next time.
The flooring itself I would not change. The SPC was pleasant enough to install that I would prioritize it going forward, but the rec room and hallway together needed enough square footage that a lot of the offers I found fell short. I do not regret what I ended up with.